High-Resolution Rock Art Documentation and Digital Preservation
**This blog is based on the poster presented by Jerod Roberts at the 2017 Texas Archeological Society Annual Meeting in Grapevine, Texas, titled: “Show me the Data!: A Feasibility Analysis of Rock Art Recorded for the Alexandria Project.” A PDF version of the poster is available at the bottom of this blog post.**
By Charles Koenig and Jerod Roberts
As detailed in the last blog post, during the Alexandria Project we are collecting quite a bit of different data, and these data are helping us address our project goals and research questions. One of the primary goals of the Alexandria Project is to preserve the Lower Pecos rock art sites for future generations because many of the pictographs are deteriorating due to age (up to 4,000 years old) and natural weathering. However, one of the challenges for preserving rock art is that there is no way to conserve the physical pictograph panels. The only way to ensure the murals are preserved for future generations is through documentation and digital preservation. For this post we wanted to dive a little deeper into two of our primary data collection methods, Structure from Motion (SfM) photogrammetry and GigaPan panoramas. SfM and GigaPan panoramas are high-resolution digital photography methods, and in addition to aiding us in addressing our research questions, allows us to digitally preserve the rock art for future generations. We first want to give a little background on how Shumla came to use both SfM and GigaPan for documenting rock art.
Structure from Motion
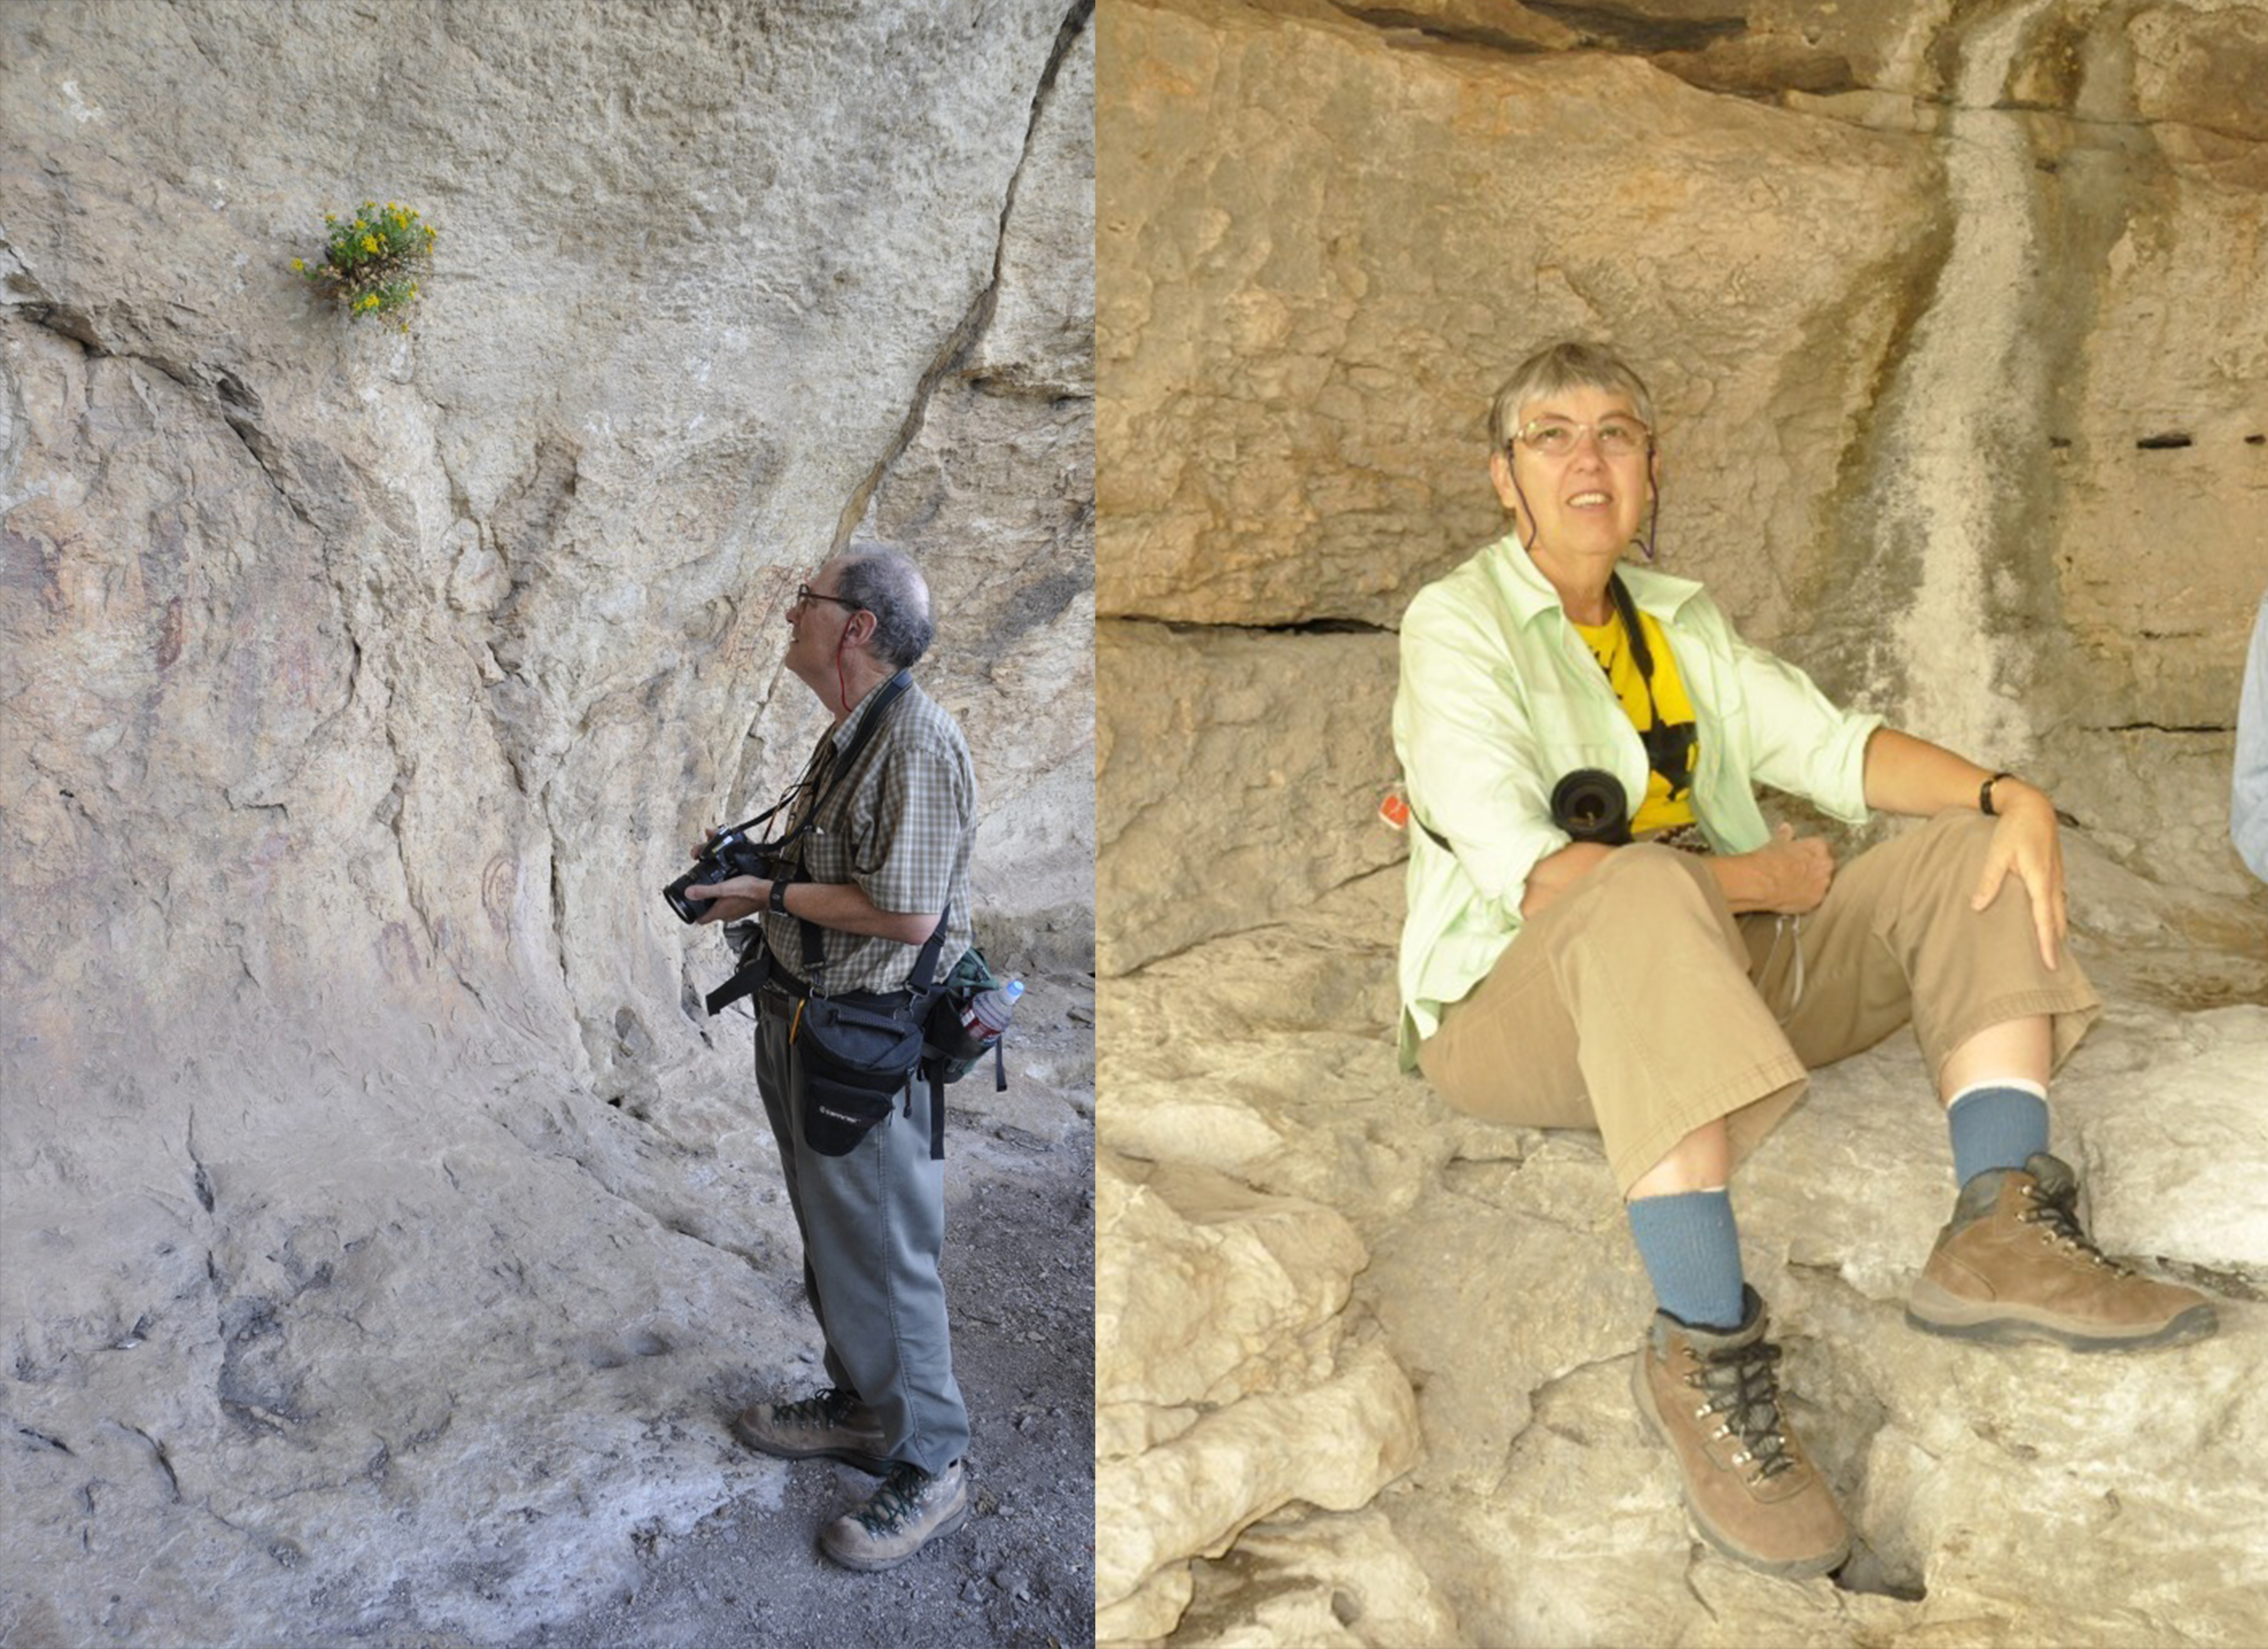
Shumla was first introduced to SfM at the 2009 TAS Annual Meeting in Del Rio, where Mark Willis gave a presentation explaining how he used Microsoft Photosynth to create a 3D model from photographs taken using a hand held camera (for more info on this early version of SfM, see Mark’s Blog: http://palentier.blogspot.com/). Converting digital images to 3D models was an incredible new technology, and all of the Shumla staff in attendance were blown away by the possibilities.
Between 2009 and 2012, Charles and Amanda got to know Mark when he came out to help Steve Black’s Ancient Southwest Texas (ASWT) Project (see ASWT blog) for mapping archaeological sites using SfM, but Shumla didn’t learn to apply SfM to documenting rock art until 2012. During the 2012 summer field season Mark visited Hibiscus Shelter during ASWT excavations, and showed Charles, Amanda, Vicky, and Jerod (Amanda was the only team member working for Shumla at the time) how to properly photograph a rockshelter to produce a 3D Model.
Fast forward to the fall of 2012, and Shumla teamed up with Mark to use SfM to document Panther Cave, a large rockshelter located at the confluence of Seminole Canyon and the Rio Grande. Charles and Amanda got to follow and learn from Mark as he photo-documented the entire rockshelter using SfM, and truly began to appreciate the high resolution data that Mark was able to generate with just a camera (Panther Cave Animation). From that point on Shumla began to use SfM as one of our tools for documenting rock art sites, and Mark has been constantly helping us to refine our photography methods to produce the best possible 3D models.
Taking SfM Photographs
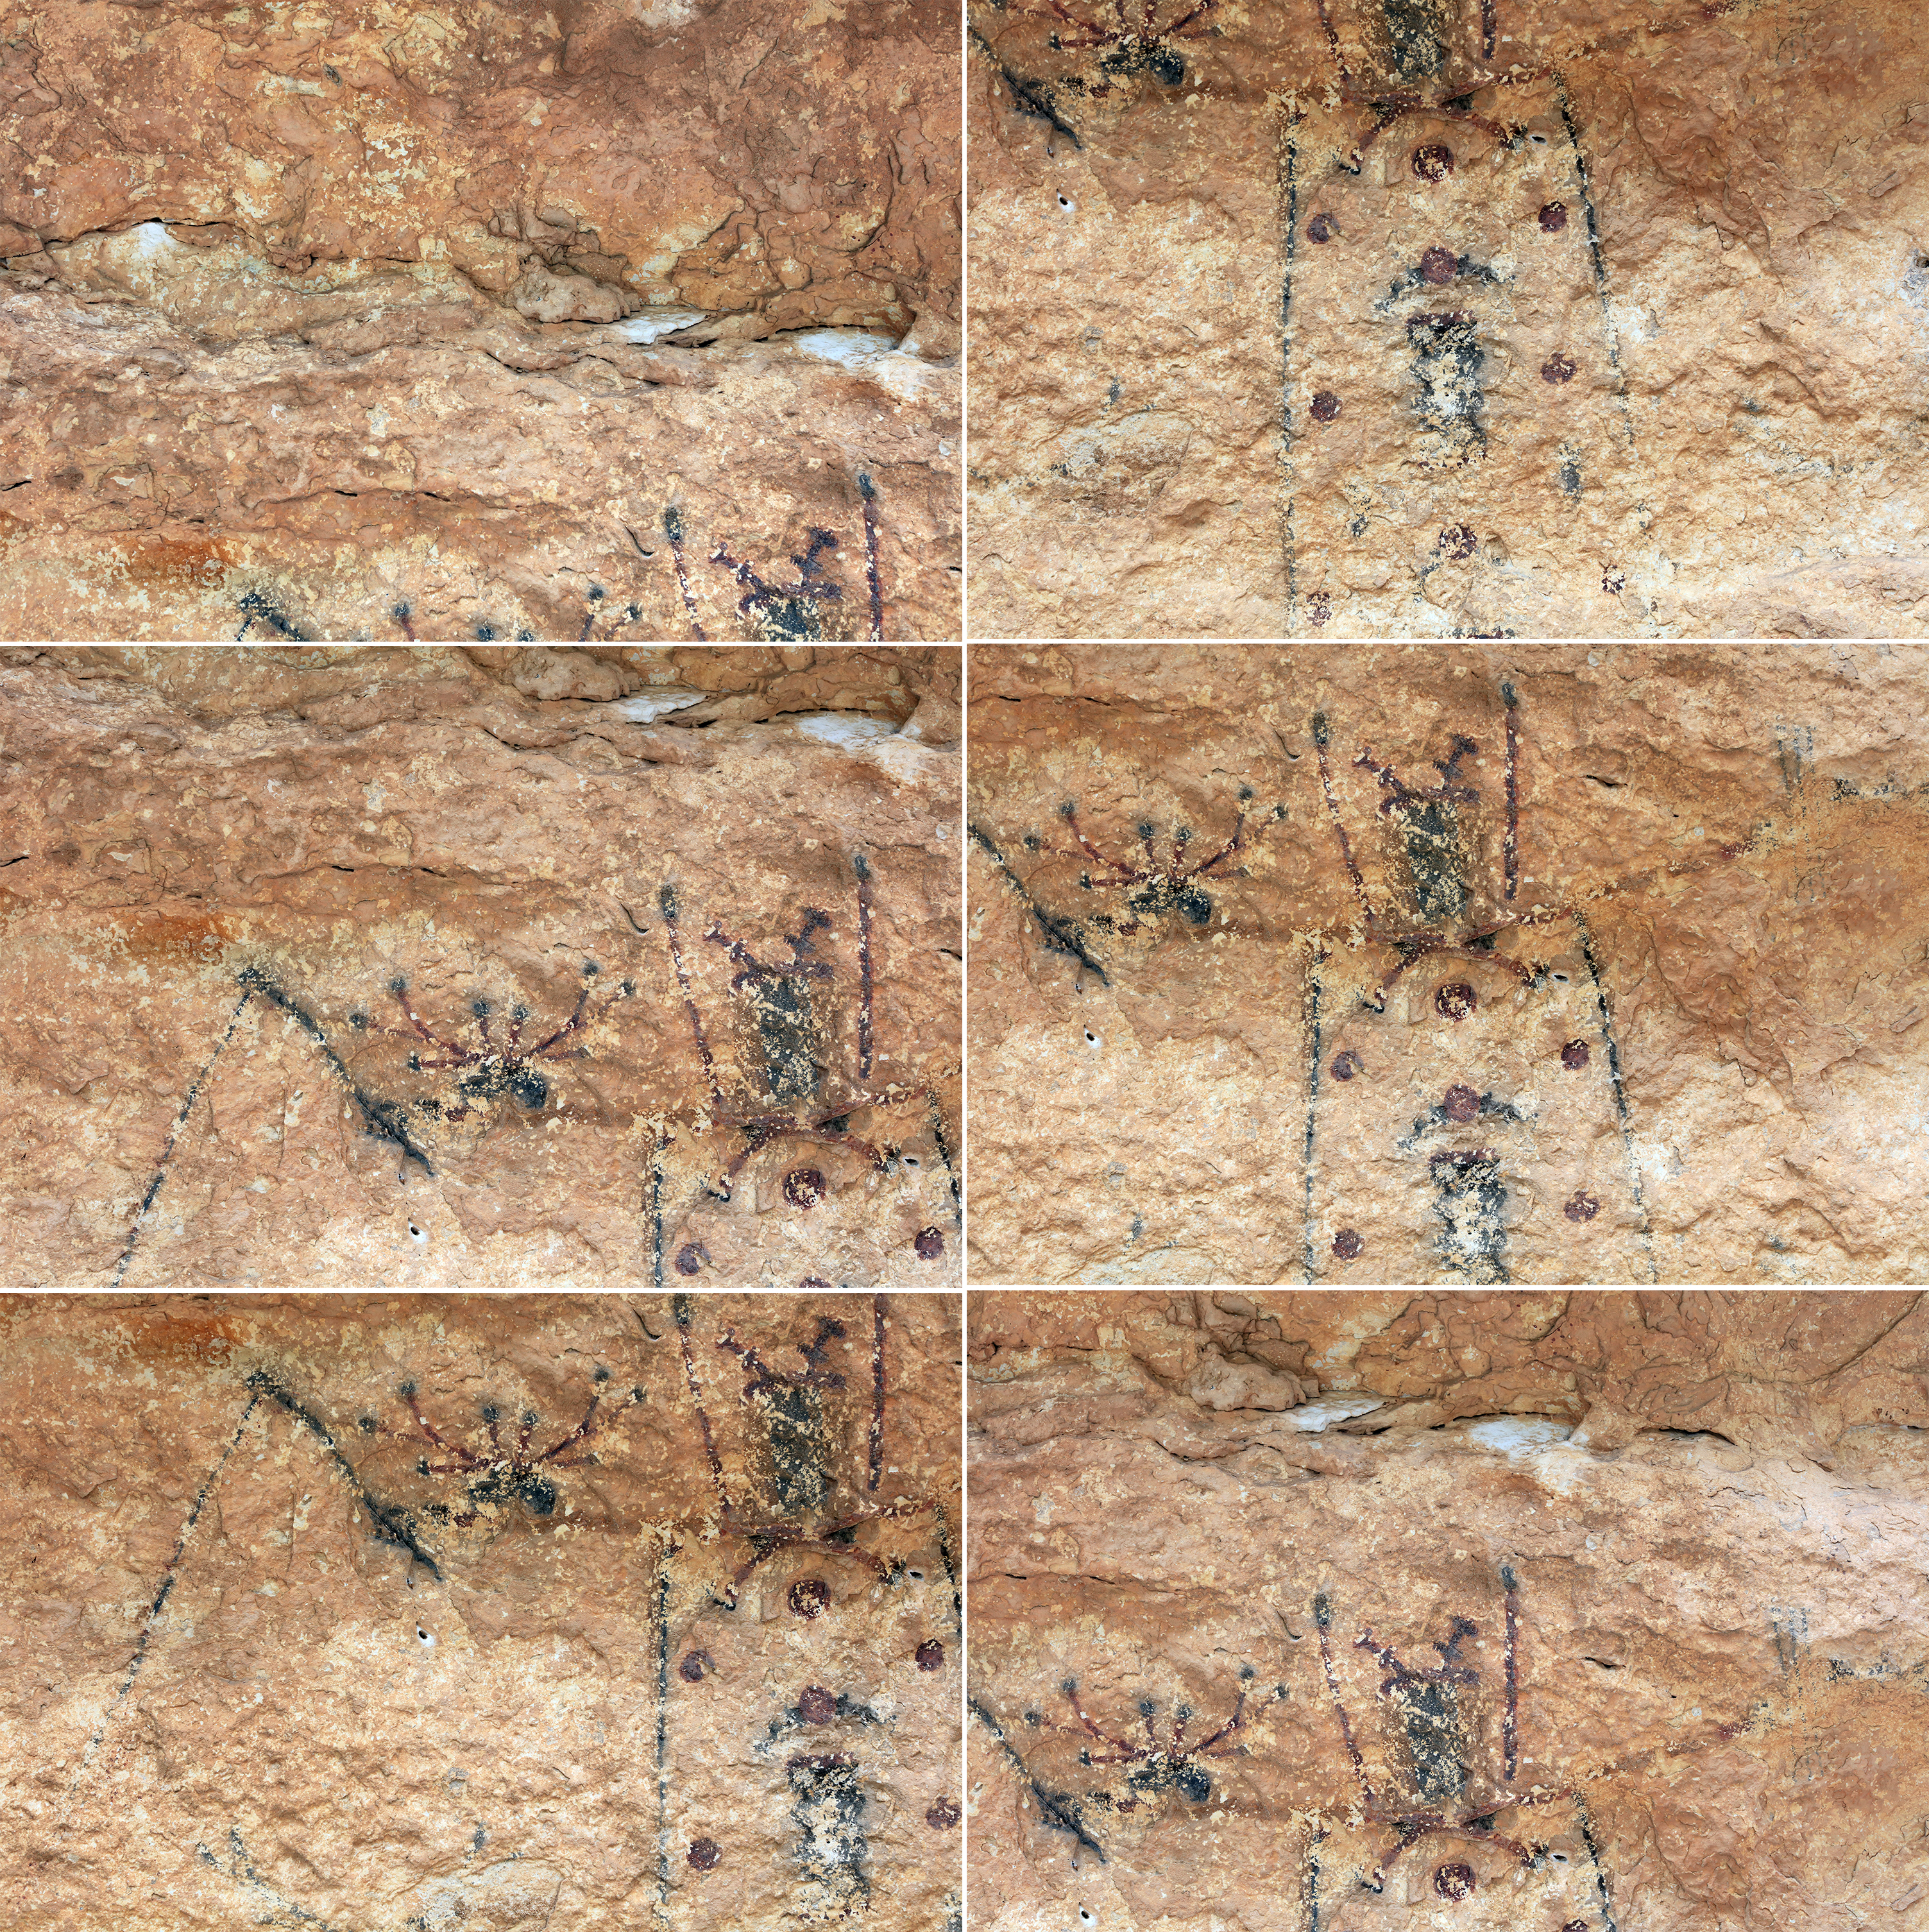
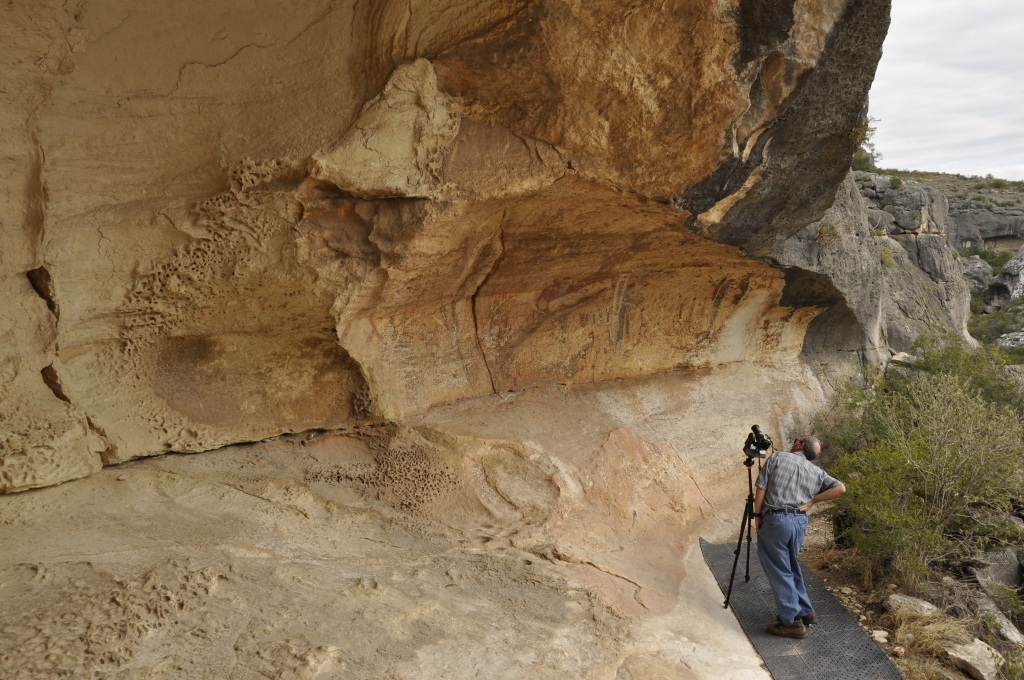
The basic principle by which a 3D surface is created using SfM is fairly simple: take dozens—or sometimes 1000’s—of overlapping photographs of the object/area being mapped. For best results these photographs need to overlap between 30-80%, and should be taken in a logical manner across the subject. We like to think of a “set” of SfM photos as a flip book, as you go quickly through the photographs you are able to identify shared points from photo to photo.
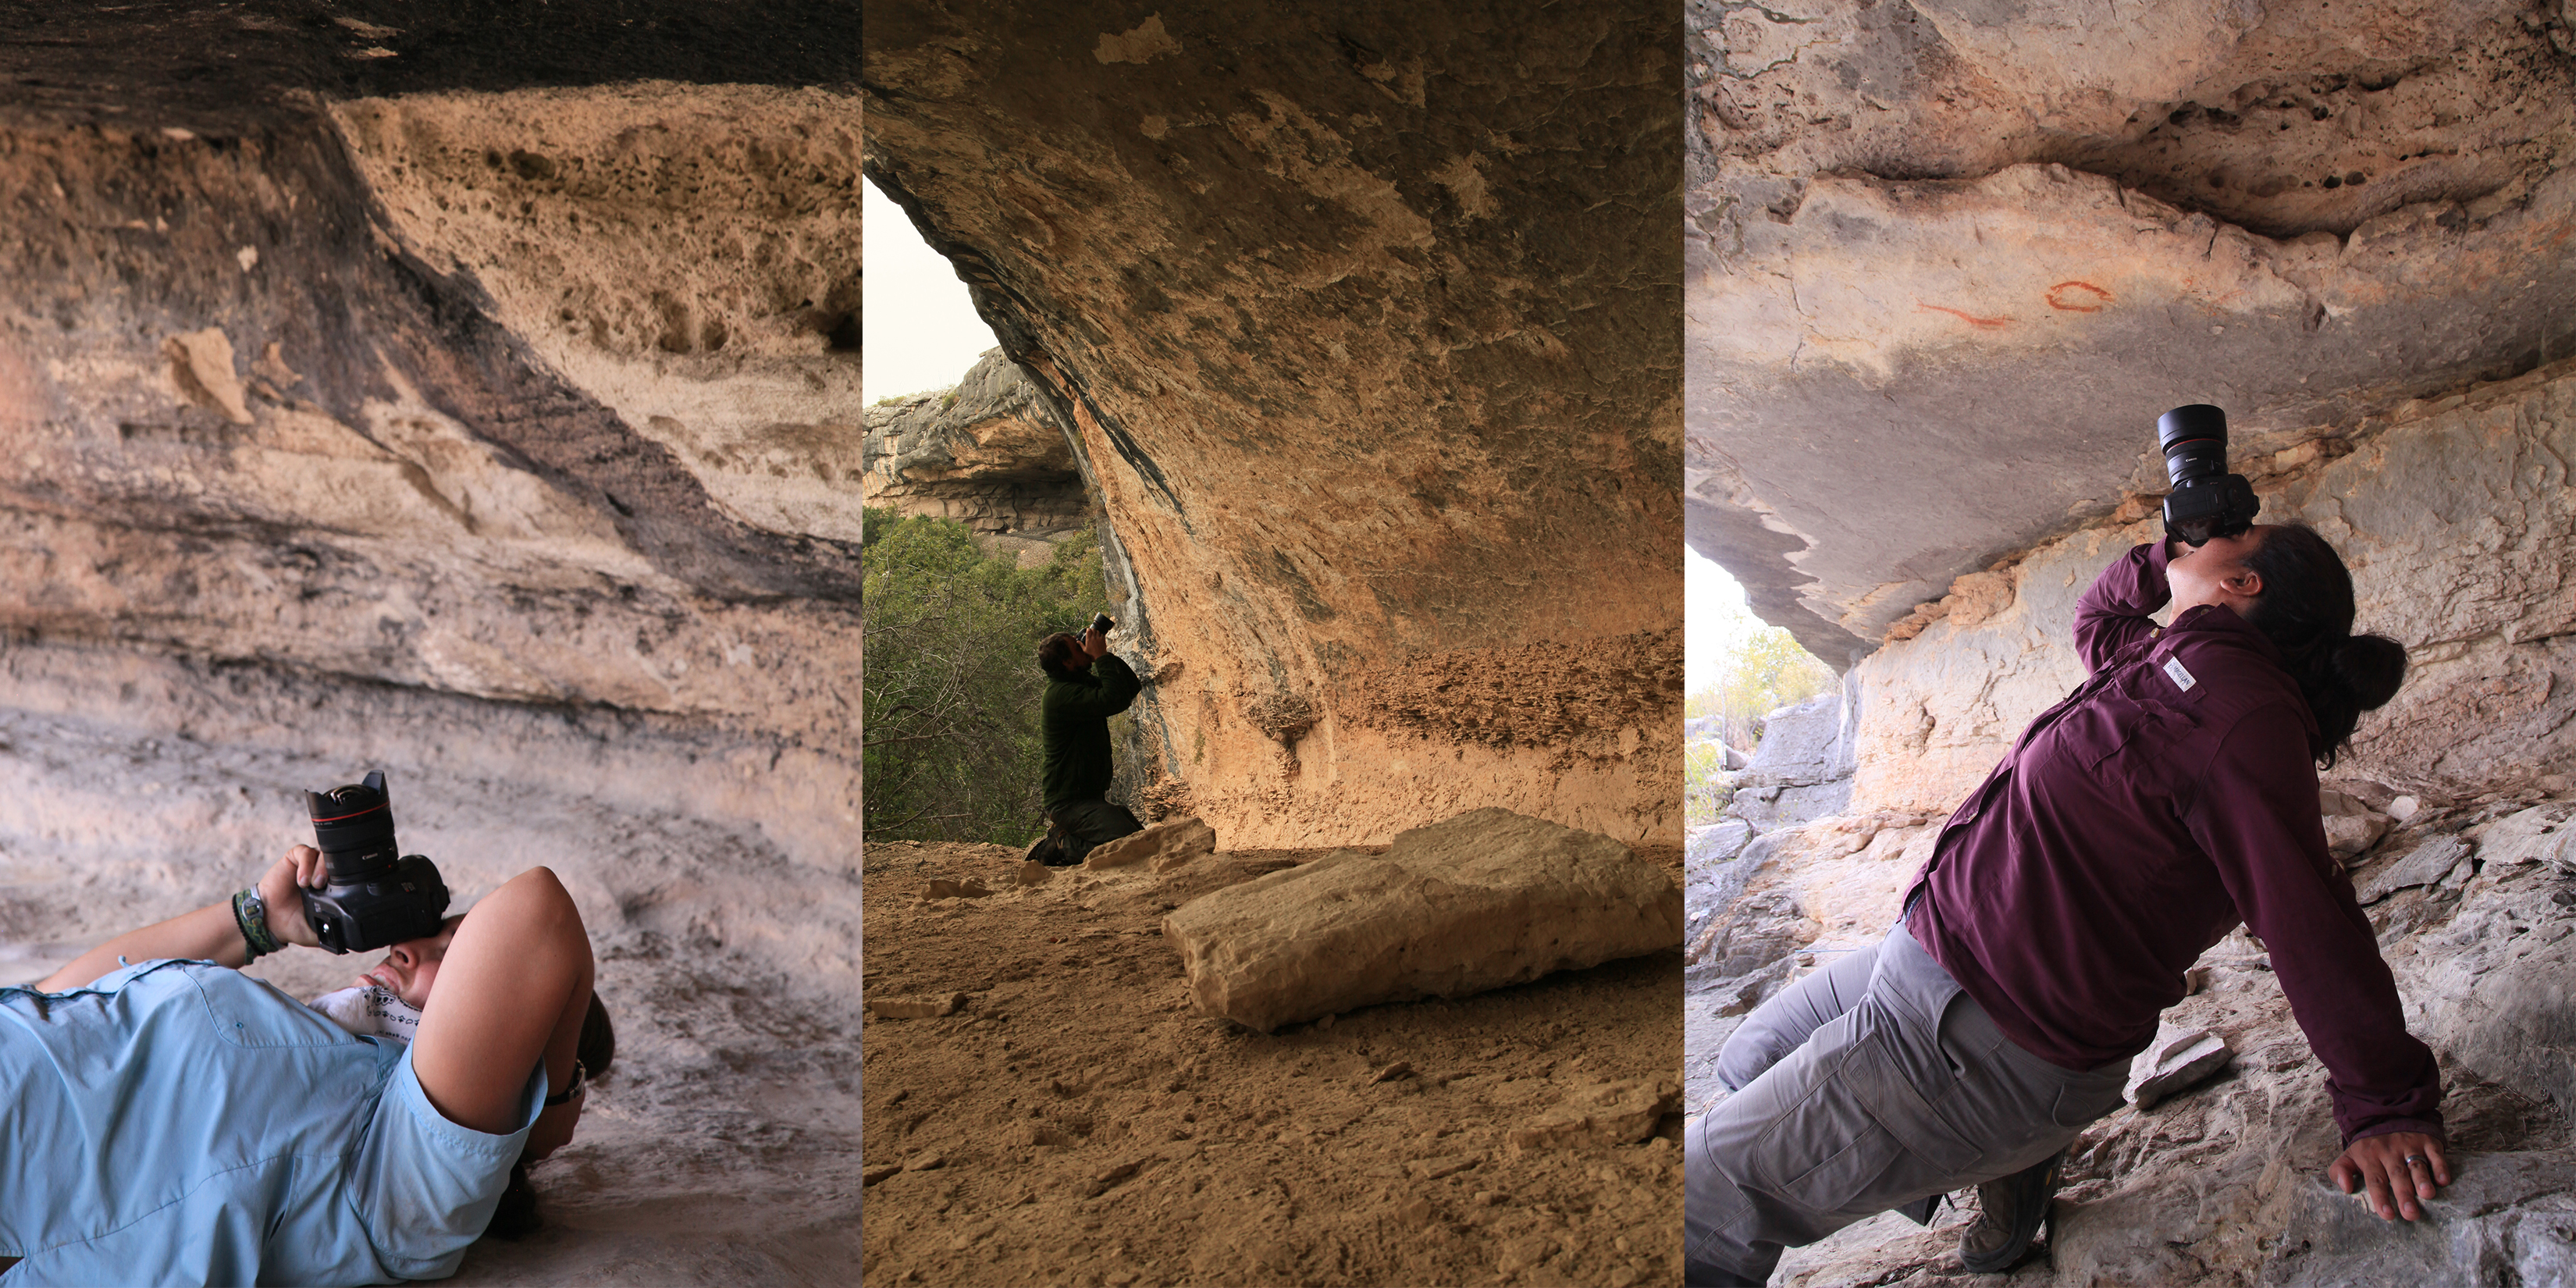
For documenting rockshelters we are taking these photographs with a hand-held camera (referred to as ground-based SfM), but archaeologists working around the world are taking SfM photographs from airplanes, UAVs, blimps, kites, or by suspending the camera from a pole (see Willis et al. 2016 for more detailed instructions and examples of different SfM applications). These photographs are then put into specialized software (we use Agisoft Photoscan, but there are other softwares available) that matches each photograph up to other photographs of the same area, and it builds a 3D surface.
Referencing SfM 3D Models
Perhaps the most important step in the SfM process is referencing each 3D model to real-world coordinates using ground control points (GCPs). GCPs are simply known points (or objects with known dimensions) within your model that allow you to apply scale (e.g., meters or feet) and orientation (e.g., up-down; north-south). GCPs can be created using high-precision points shot in with a total data station (TDS) or GPS unit, or simply a meter tape stretched out across a surface. Regardless of what we use for GCPs in our models, the important thing is that GCPs allow us to measure the 3D surface in real-world coordinates.
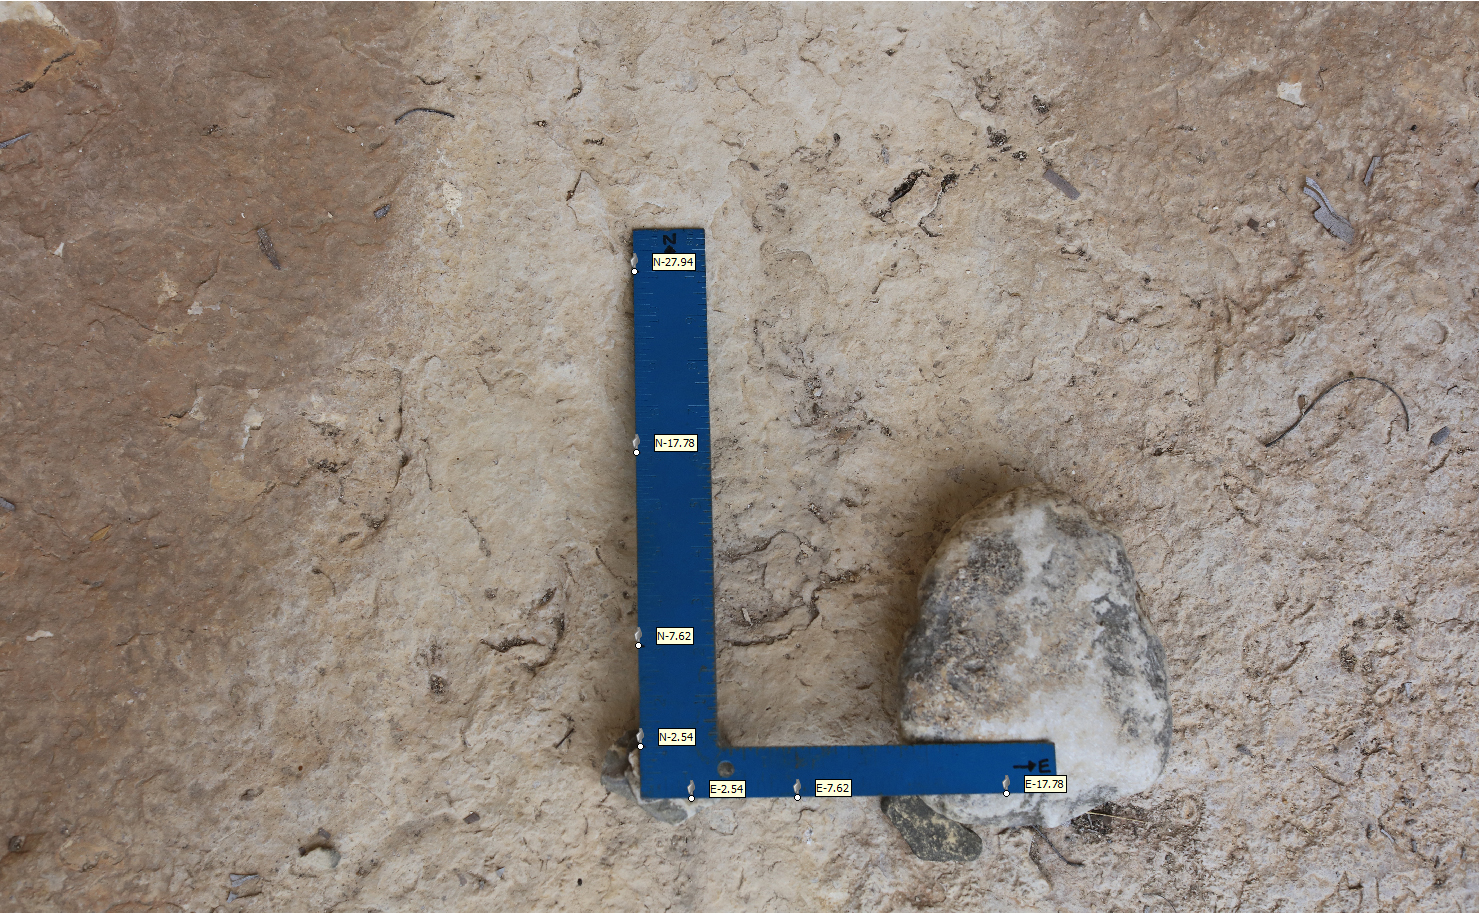
Rather than using TDS or GPS for creating GCPs and referencing our models for the Alexandria Project, we are using a different methodology: a builder’s square. We take a standard builder’s square (spray painted to reduce the reflections), orient it to North, level it using line levels, and then photograph the builder’s square in the model (this is a technique that Amanda learned from Mark Willis, and perfected during her thesis research documenting bedrock features). This method does not allow us to reference each model to real-world UTMs or Latitude/Longitude, but it does allow us to apply scale and proper orientation to the models. Not to mention a builder’s square is much lighter to carry into a site than a TDS!
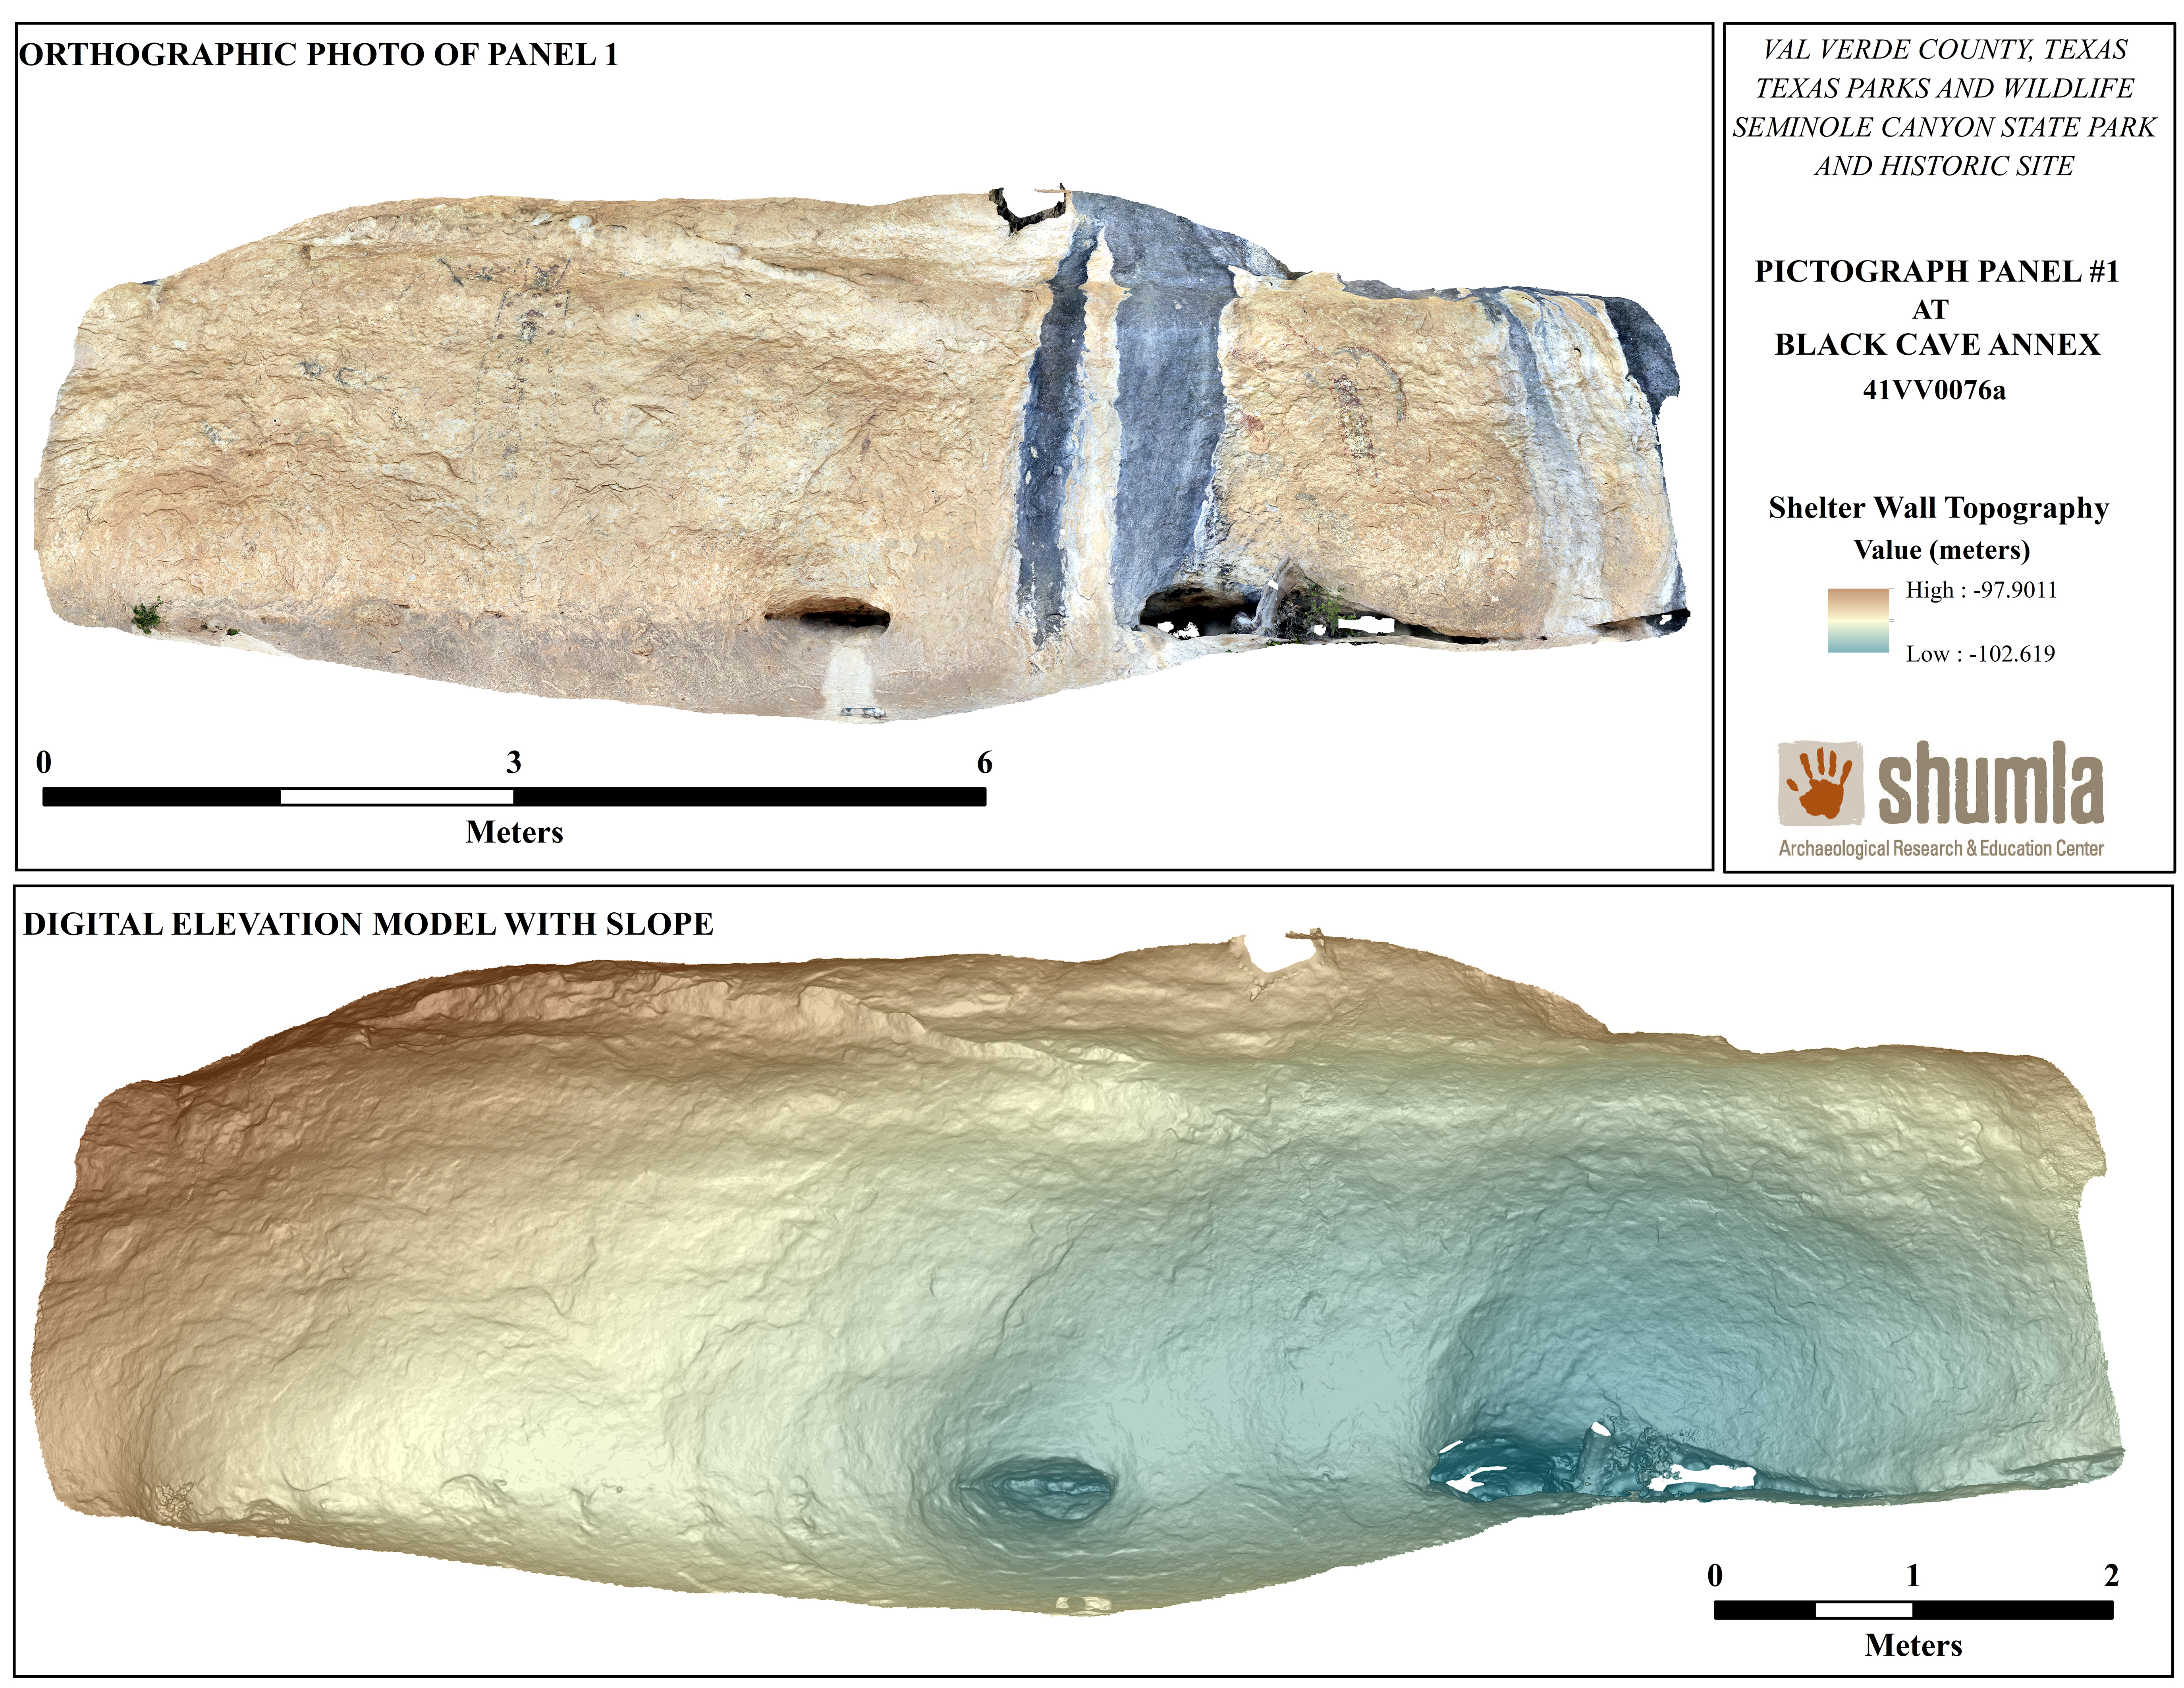
Once the SfM 3D models are referenced, we are able to export a fully-textured 3D models of the subjects, as well as orthographic photos and digital elevation models for the surfaces. Because all of the exported files have scale, we are able to collect measurements on individual figures using the digital data.
GigaPan Panoramas
Panoramas have been around a long time in the archaeological world, and provide an excellent platform for studying rock art. Shumla has always used panoramic images in one way or another to help in our documentation efforts, but the folks we learned from to produce quality panoramas are Bob Mark and Evelyn Billo of Rupestrian Cyberservices. Bob and Evelyn have been at the forefront of high resolution panoramas for rock art recording, and in 2008 began using the Gigapan Robotic Gimbal System for producing GigaPan images.
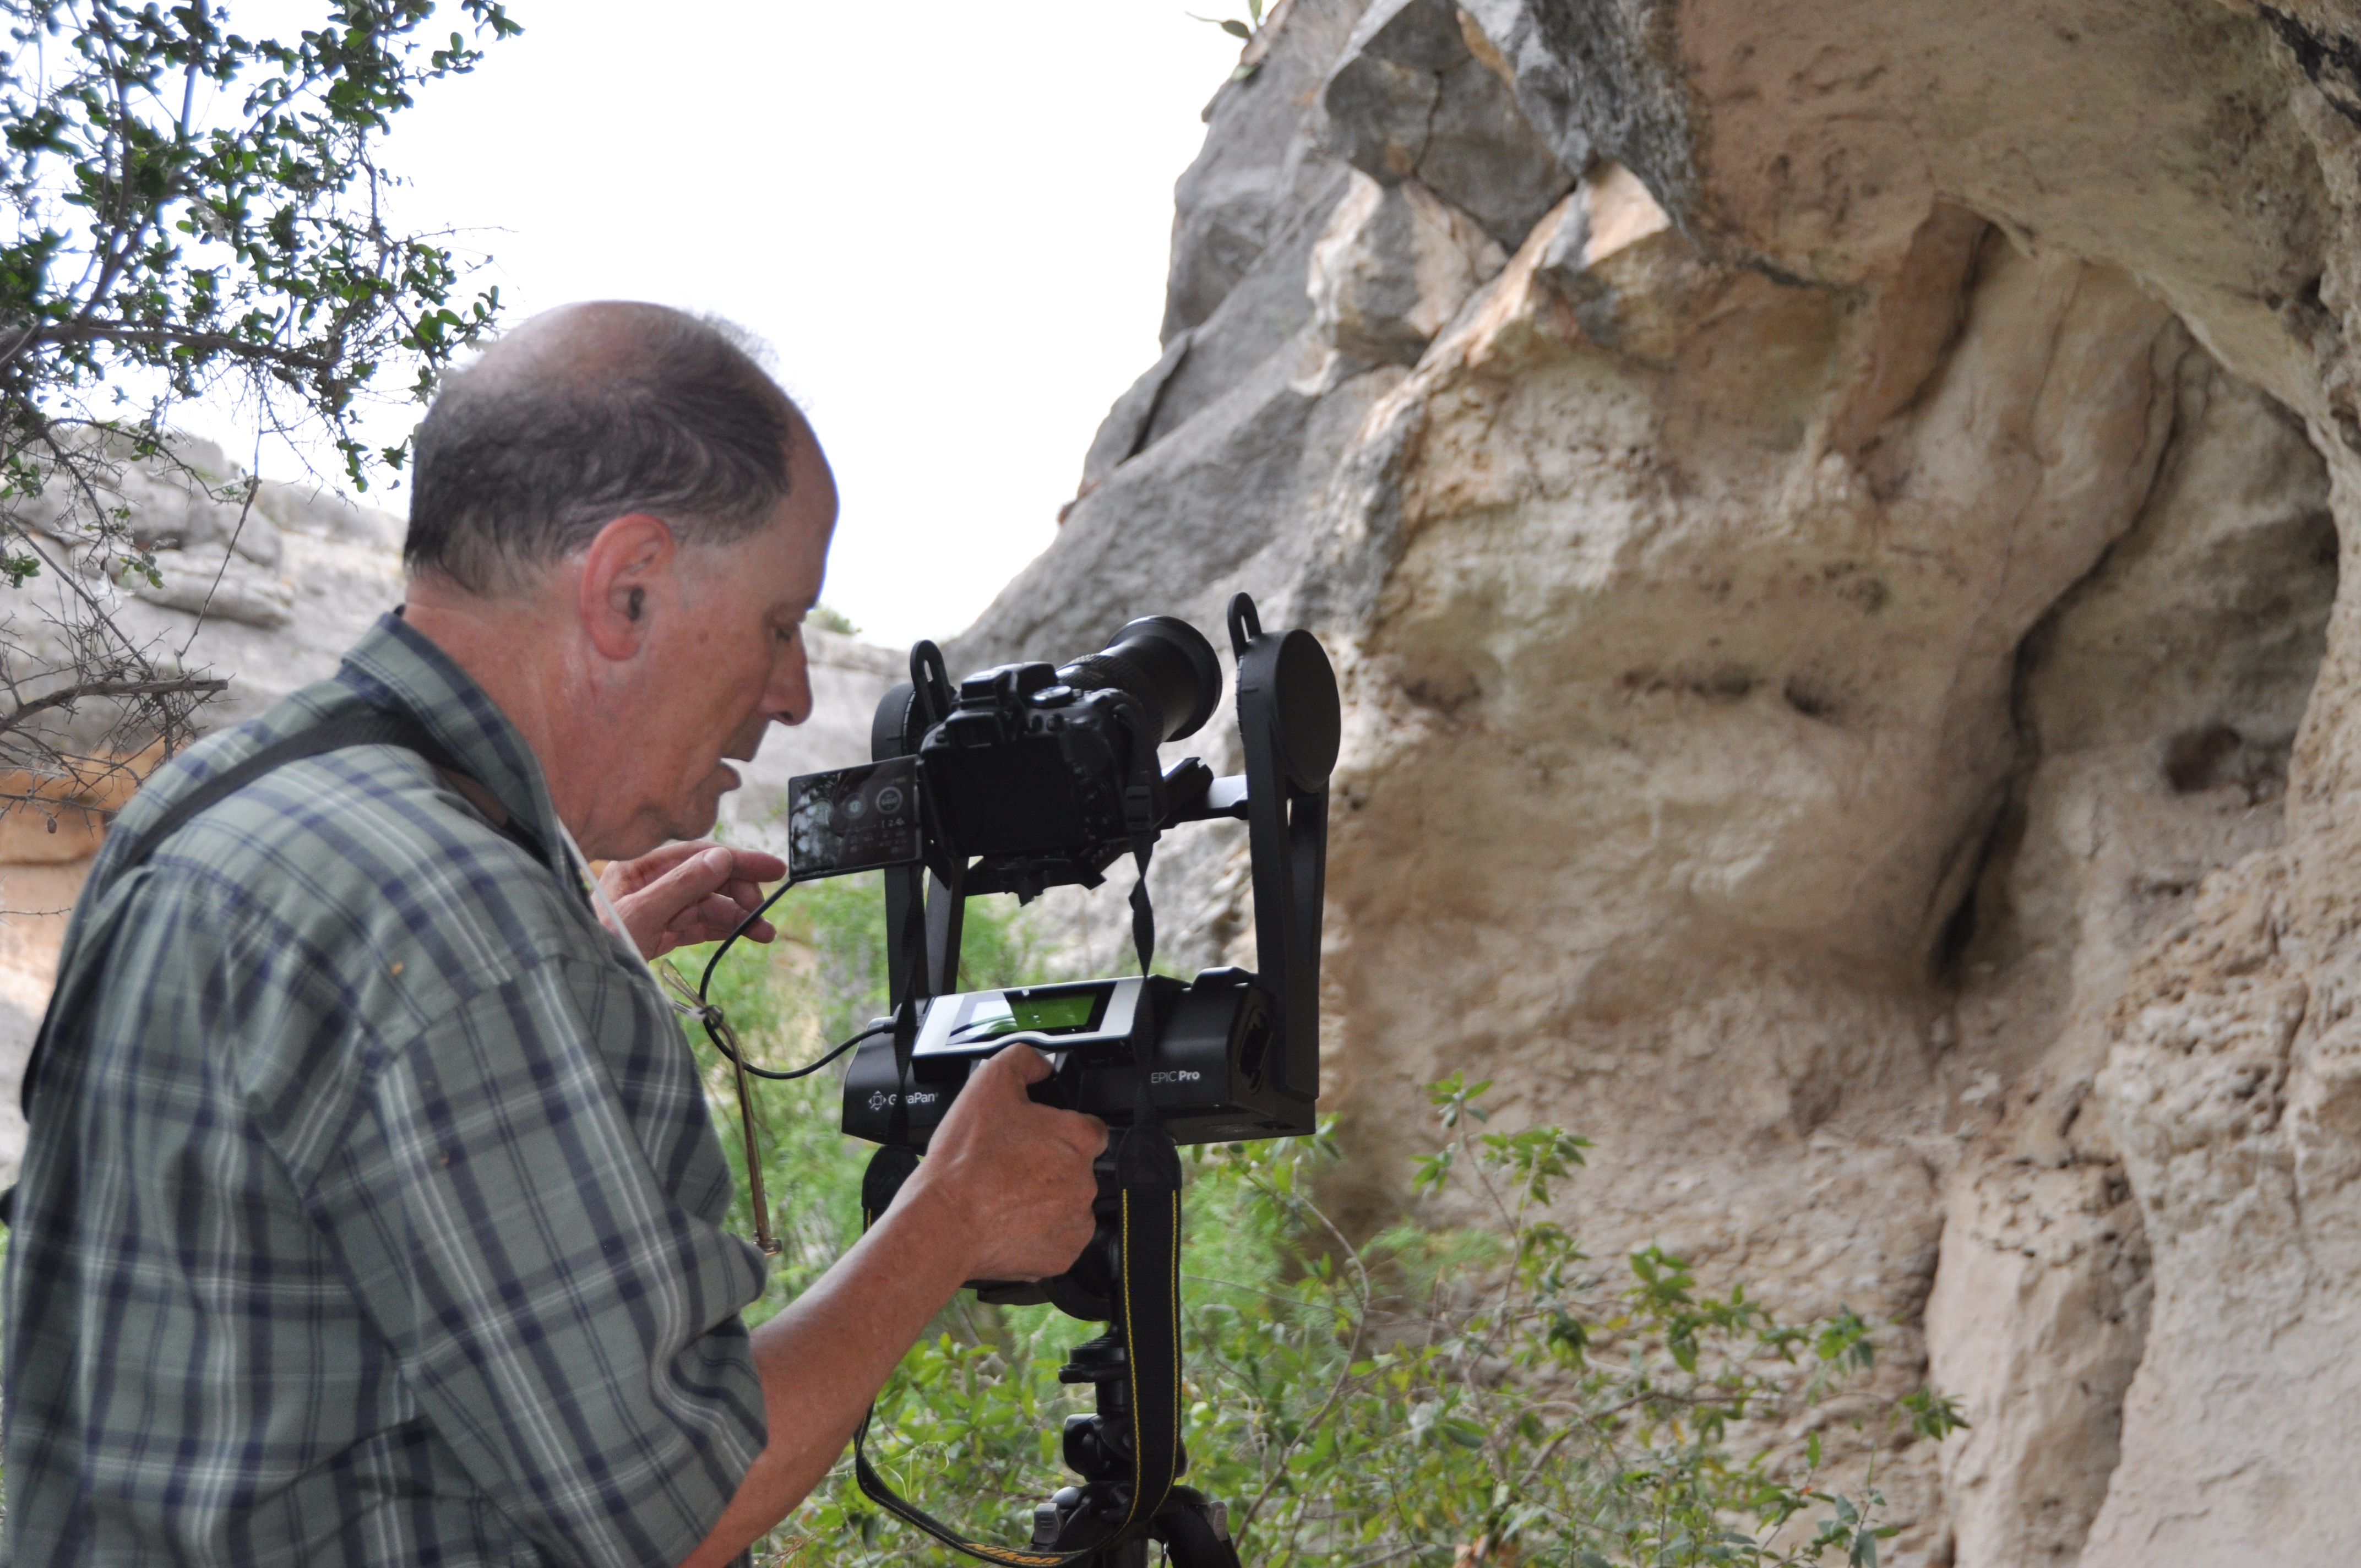
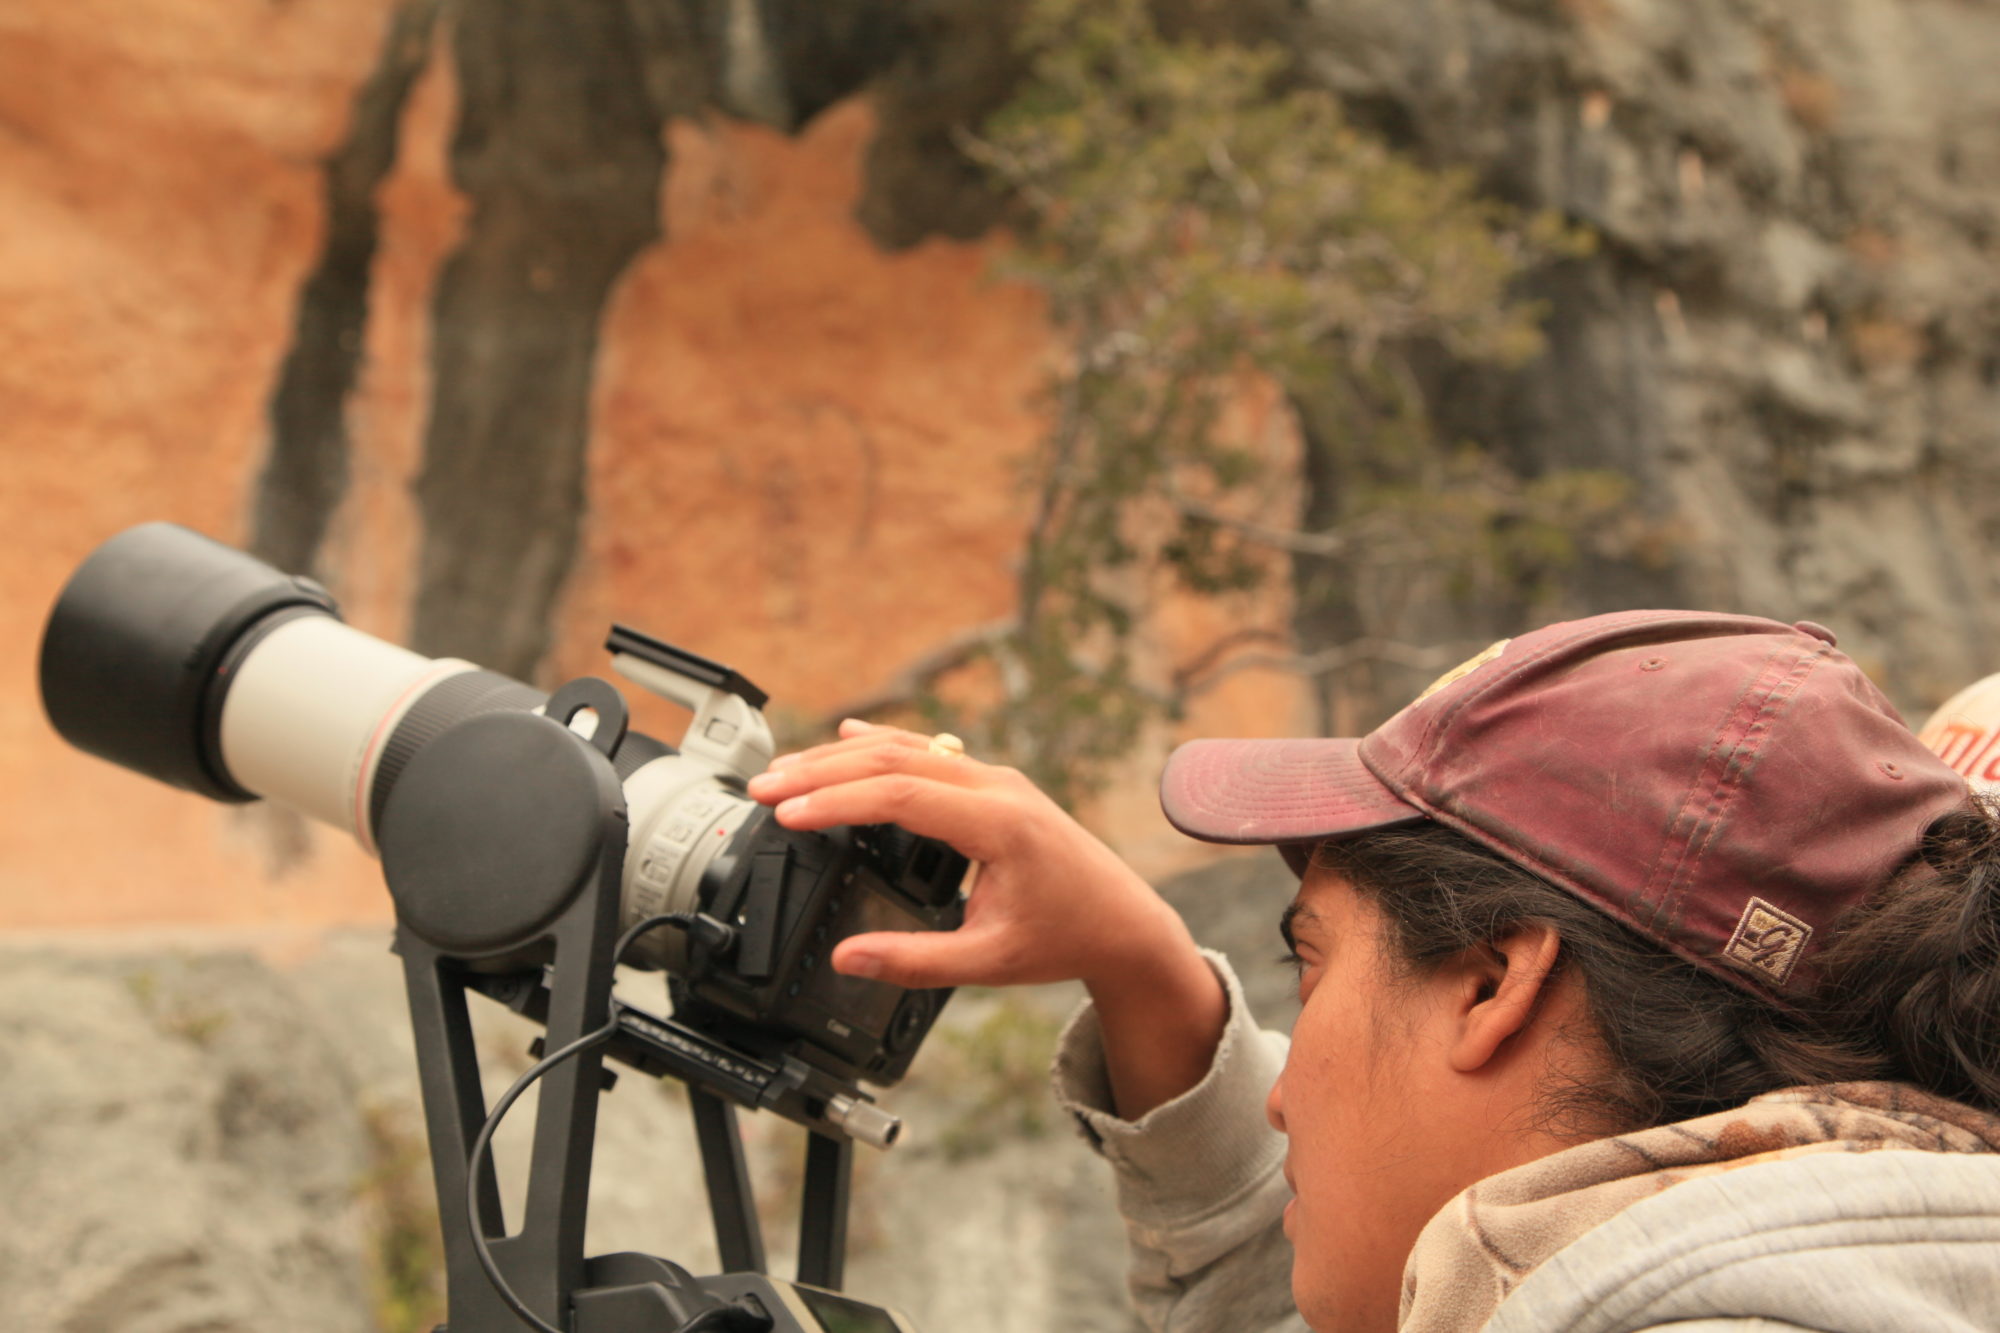
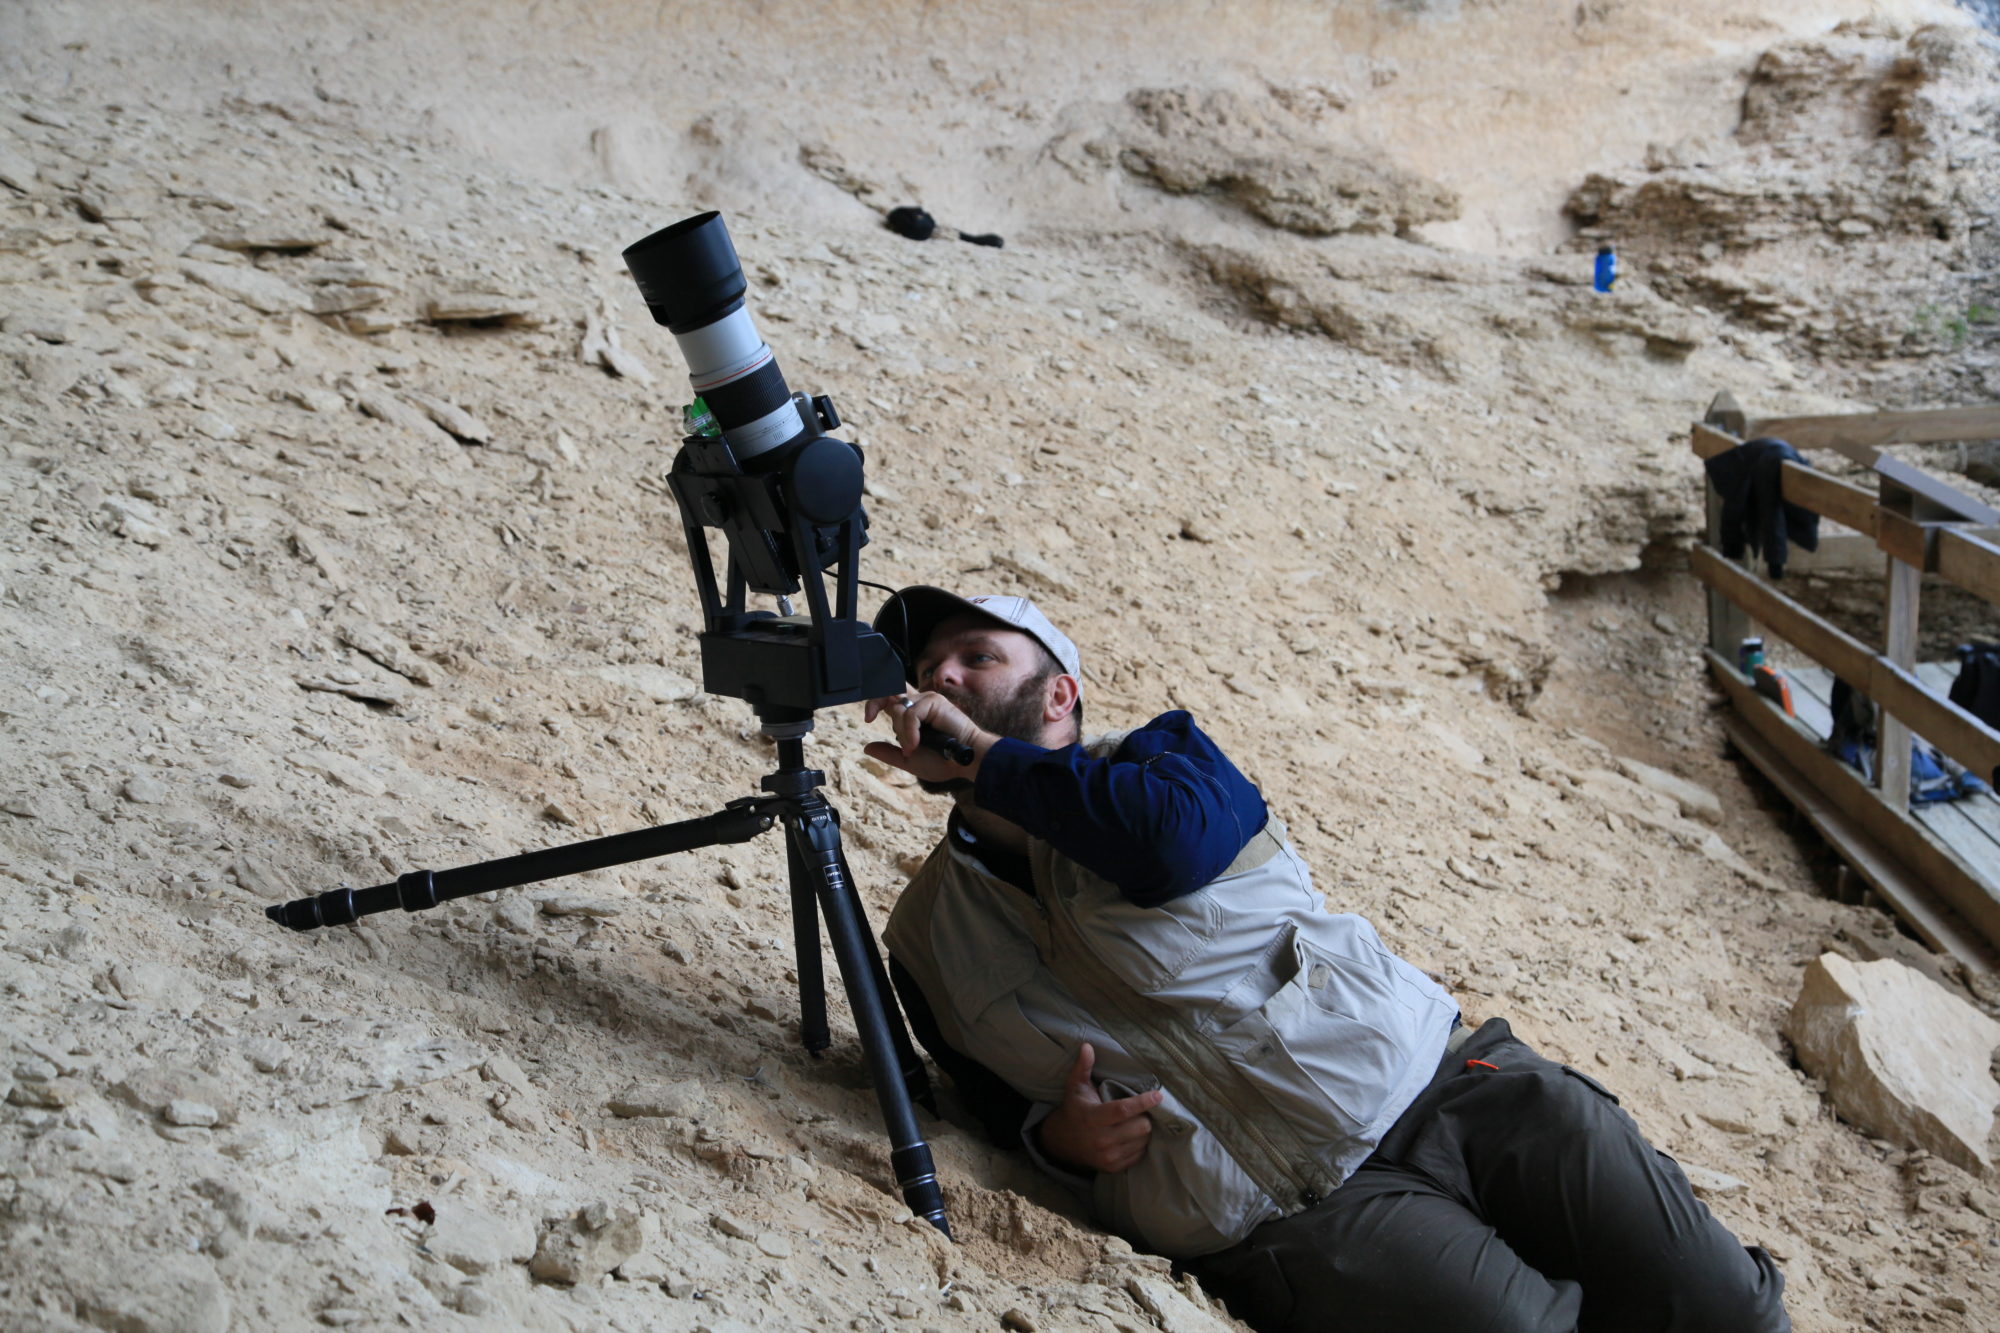
A standard photographic panorama is taken from one location by holding a camera (or a cell phone), and capturing a series of photographs in an arc across your subject. GigaPans are similar in concept, except that they must be taken on a stable tripod (this is unlike capturing a SfM, where you physically move the camera around the subject), and typically are made up of hundreds (or even thousands) of individual images. So what’s the difference between a standard panoramic image and a gigapanoramic image? In one word: size. A GigaPan, or gigapanoramic image, is just a panorama with a size larger than 1,000,000,000 pixels in length or width (a large digital photograph is 5,800 x 8,700 pixels). GigaPan images will always be much, much larger (and higher detail) than standard panoramas.
The first time Shumla saw GigaPans being produced was in 2009, when Bob and Evelyn created a high resolution panorama of the White Shaman that Dr. Carolyn Boyd used as the base for her digital rendering of the site. In April 2014 they came out once again and created another panorama of Rattlesnake Shelter. By this time, Shumla was really seeing the potential of using these high resolution images for more than just reference images, they were becoming high enough quality that they could serve use for figure identification and analysis.
Finally, Shumla was contracted by the Witte Museum in 2016 to supply images for their new Kittie West Nelson Ferguson People of the Pecos Gallery. The Witte required ultra-high-resolution images that could be displayed on a faux rockshelter wall. To help with the exhibit, Mark Willis came out to provide hands-on instruction to Vicky and Jerod on how to capture GigaPan images. From this point on, we knew we had to add this type of data collection to our rock art documentation methods.
Since a Gigapan is taken from one location, several factors must be taken into account to minimize distortion of the final image, including distance from the shelter wall and shape of the shelter wall. It becomes difficult to take into account all of these factors, especially when there may be a sheer cliff right next to the panel or most of the rock art is located on the ceiling. But like everything, the more practice you get with different scenarios, the easier it is to take into account all of these factors.
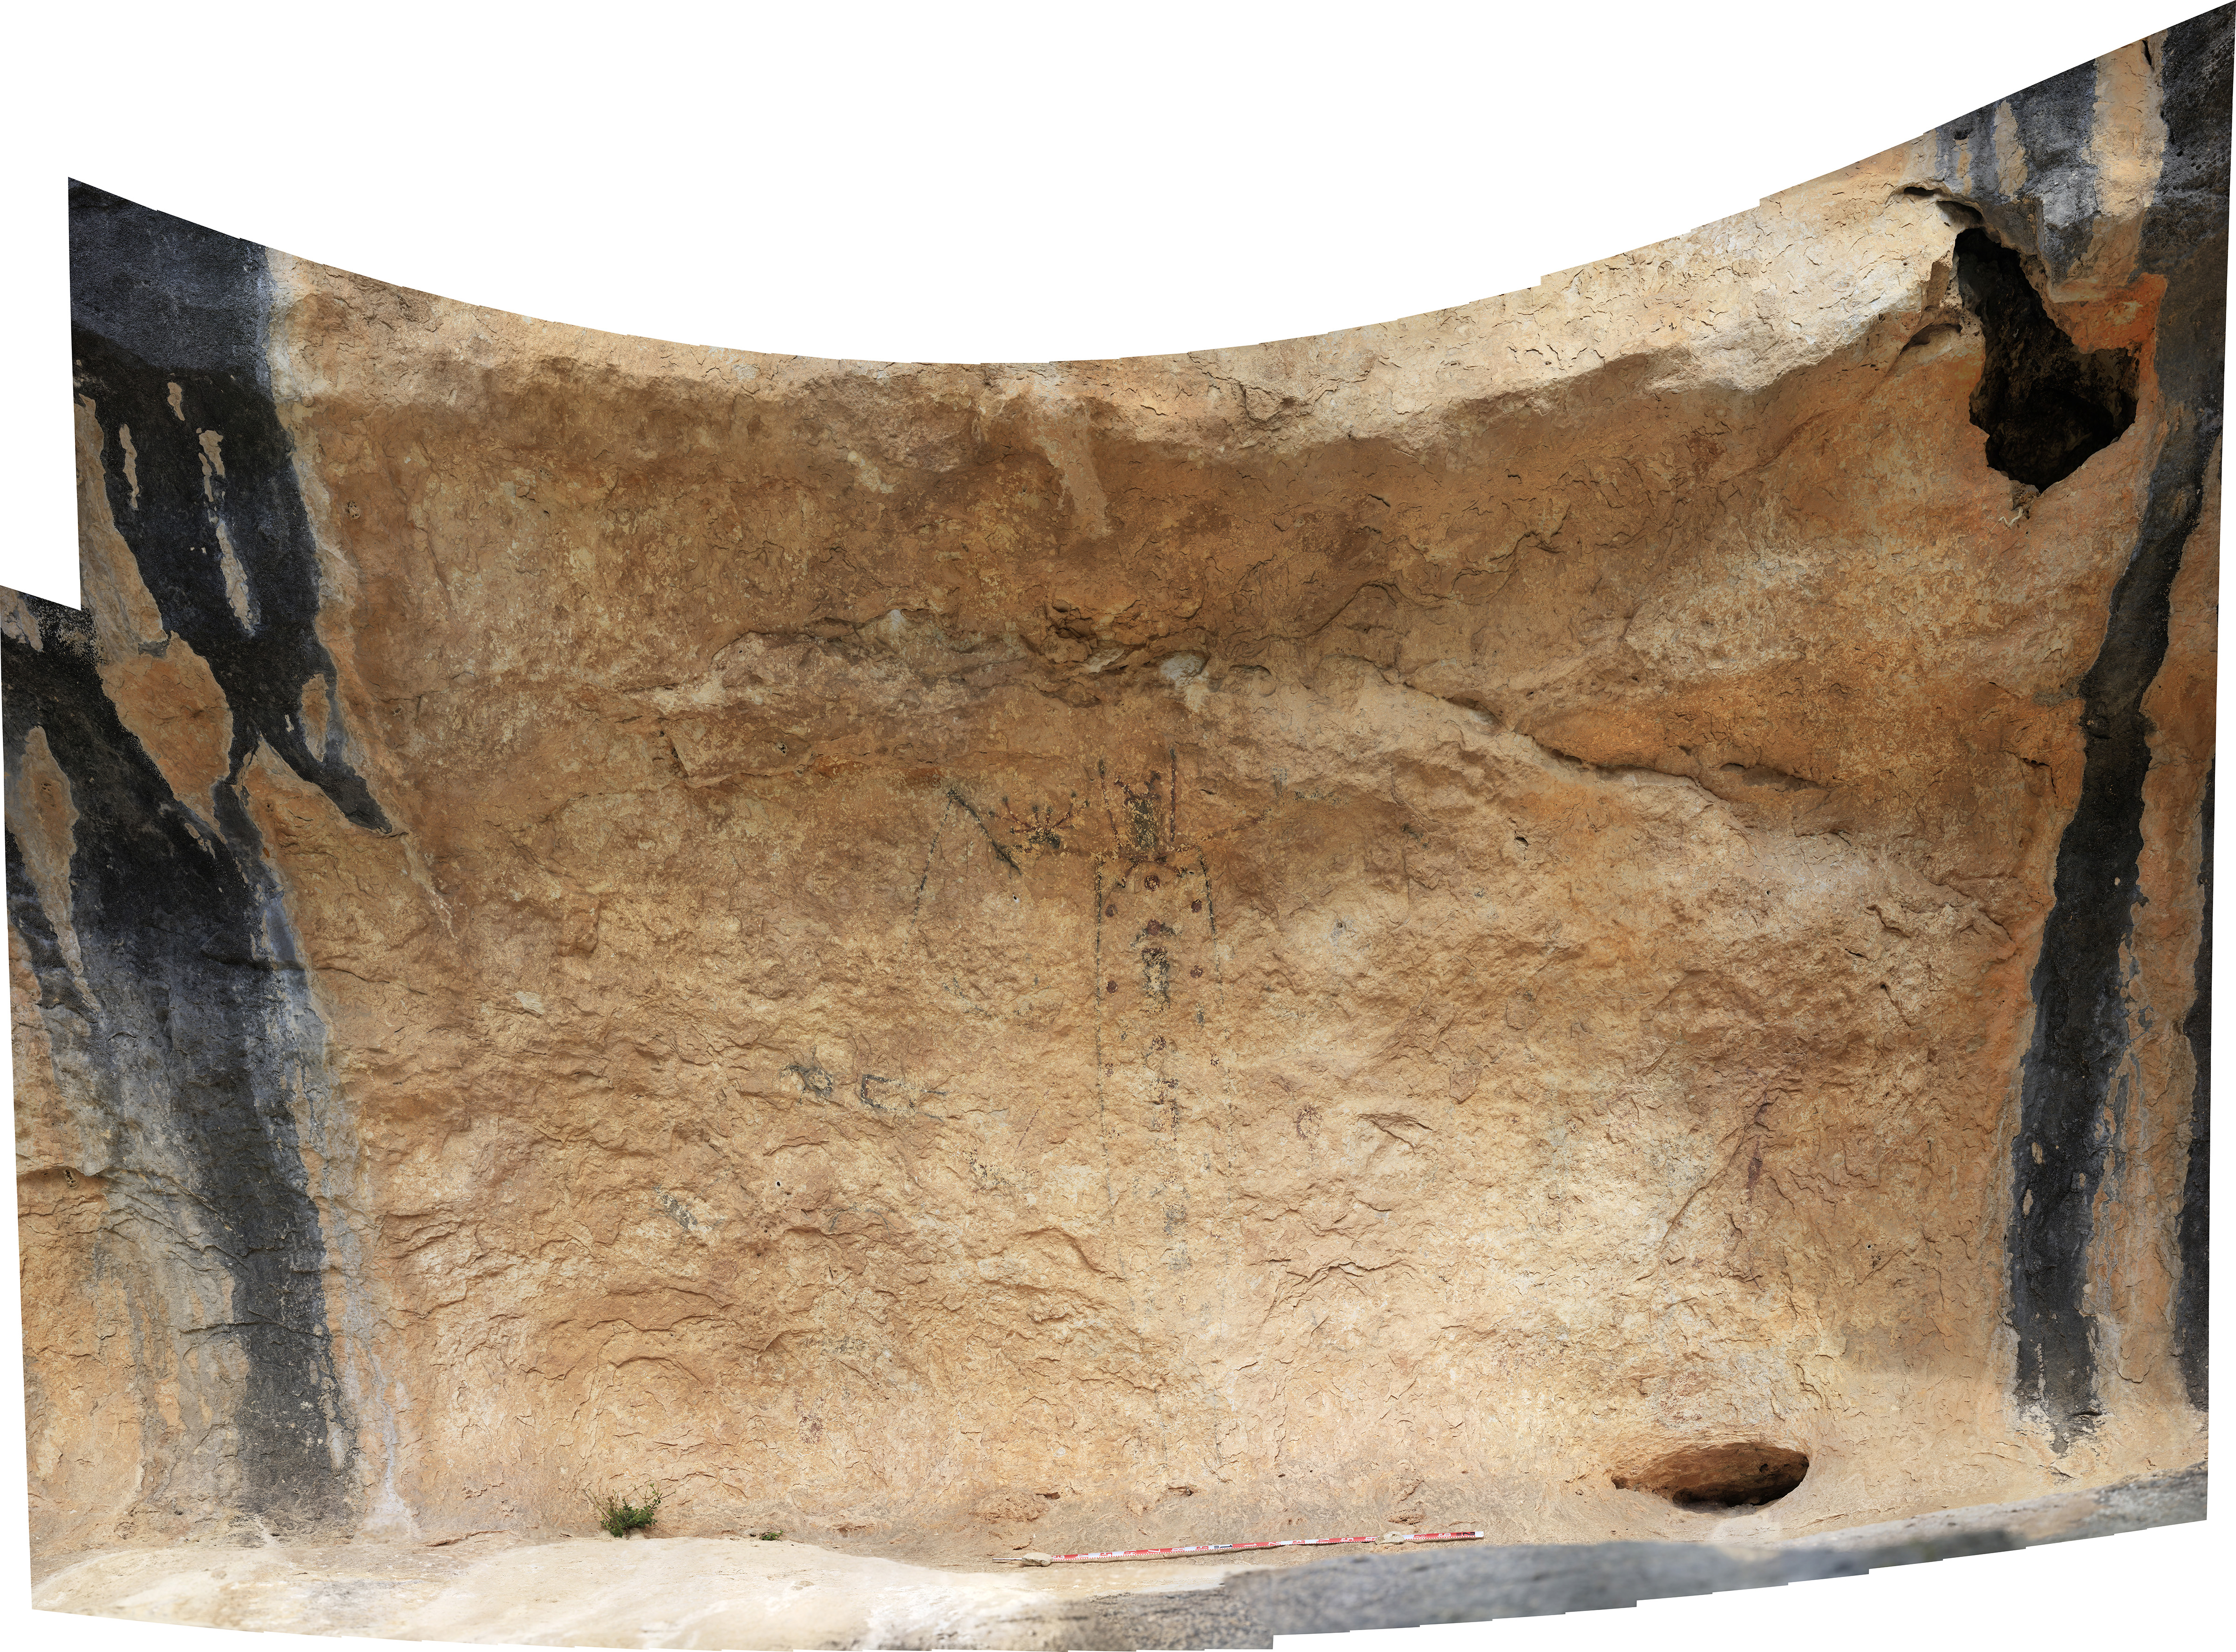
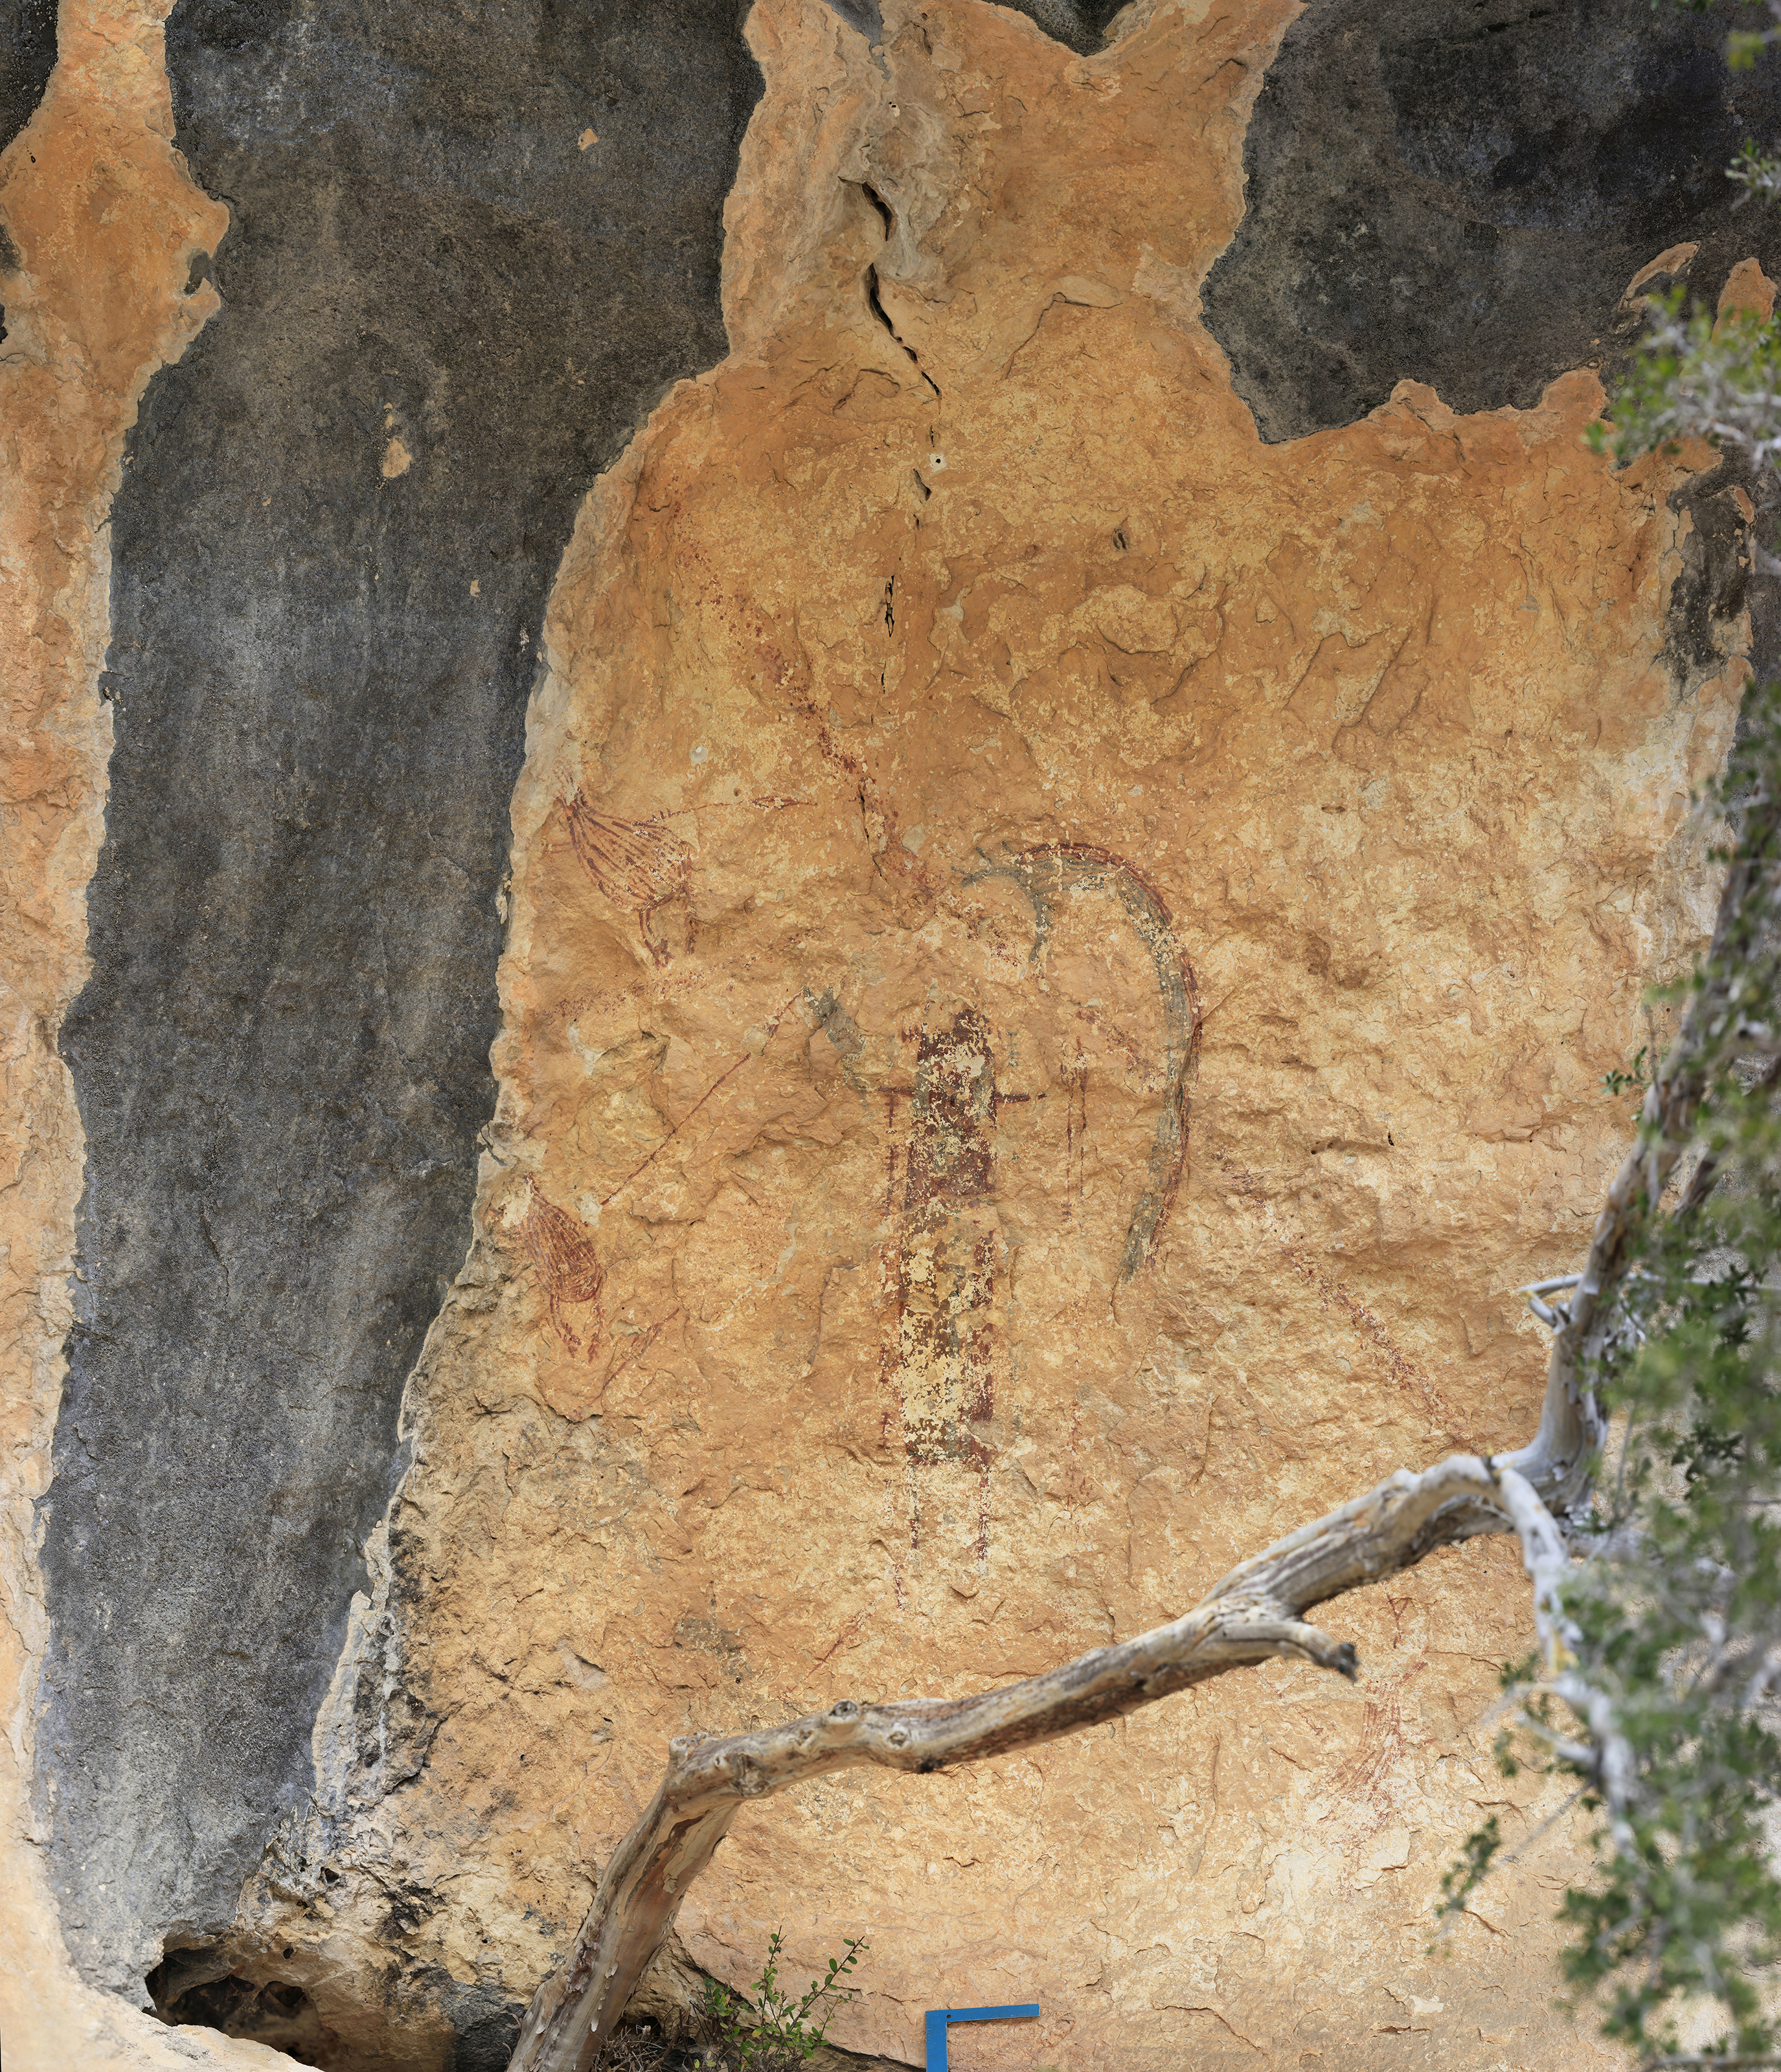
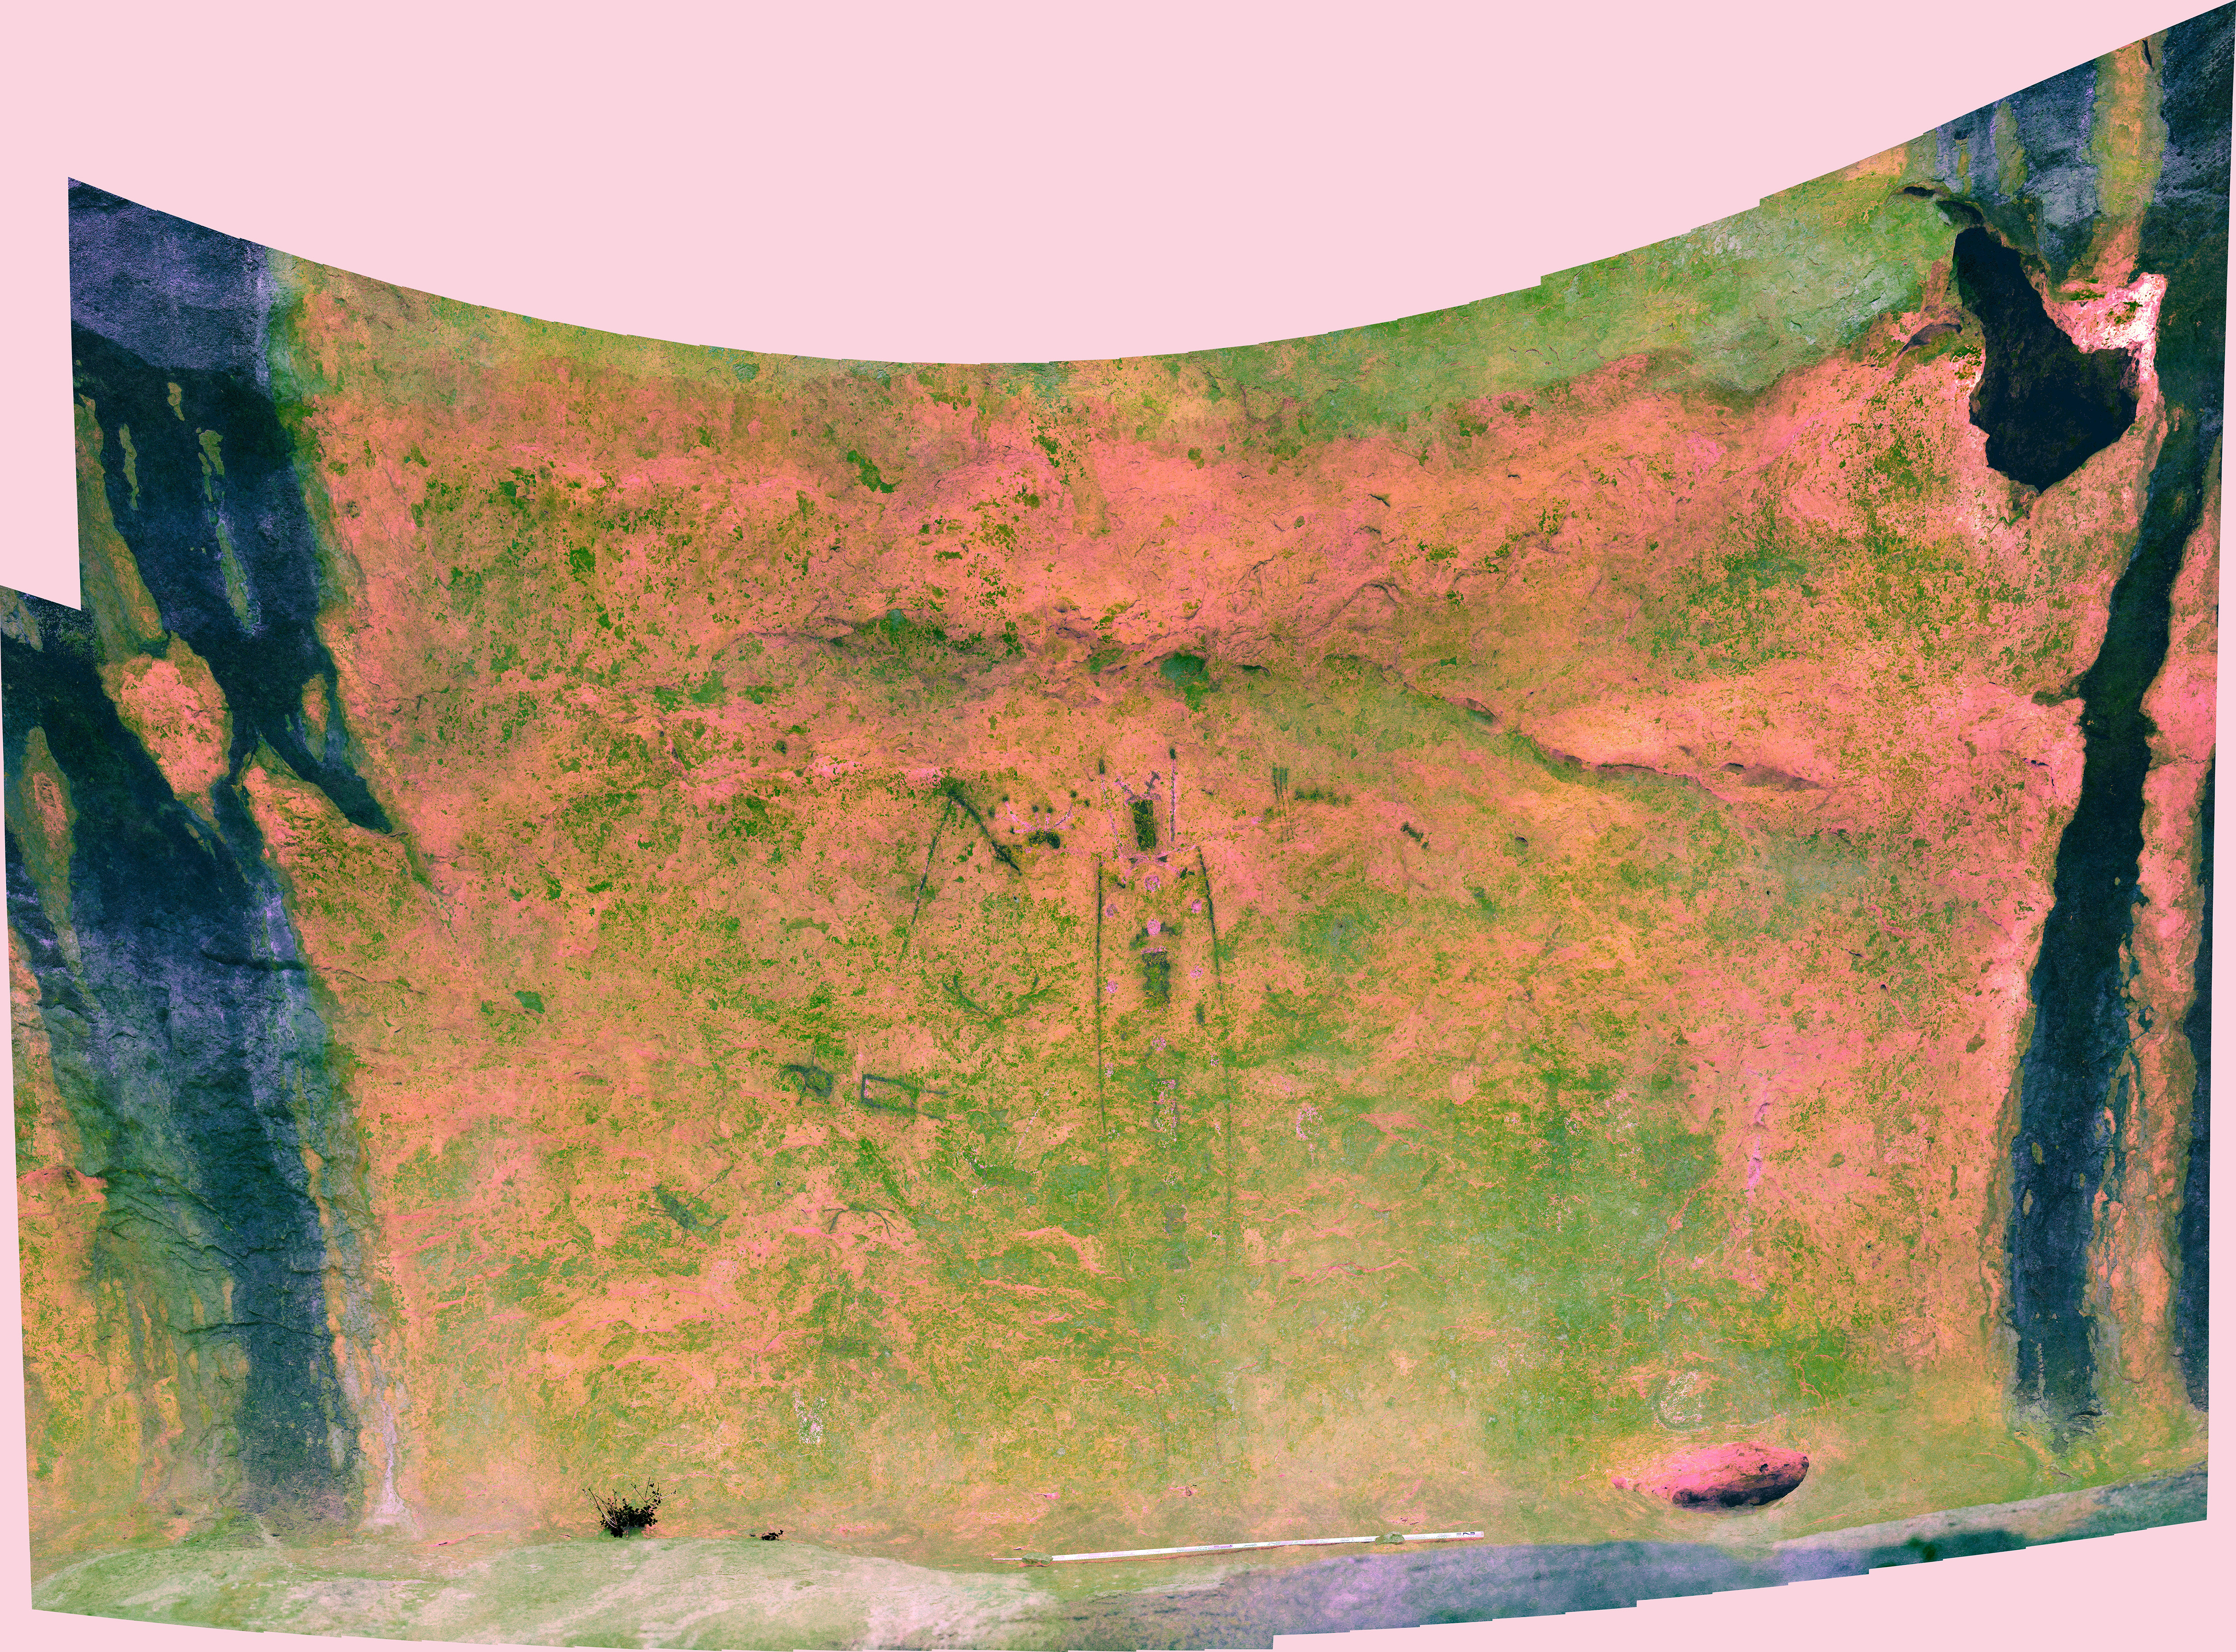
Once the GigaPan images are collected, the images are then imported into specialized software (we use Autopano Giga) which then stiches the images together into one large image. This large image can then be transformed into multiple projections to minimize distortion as much as possible. Once we find the projection with the least amount of distortion, it is exported as a large Photoshop document, as this is the only format that allows such large images and is somewhat accessible to others. Our largest Gigapan image so far is 80 gigabytes! Click on the GigaPan images below to be re-directed to the high-resolution GigaPan images.
GigaPan Images
Data Analysis Using SfM and GigaPan Imagery
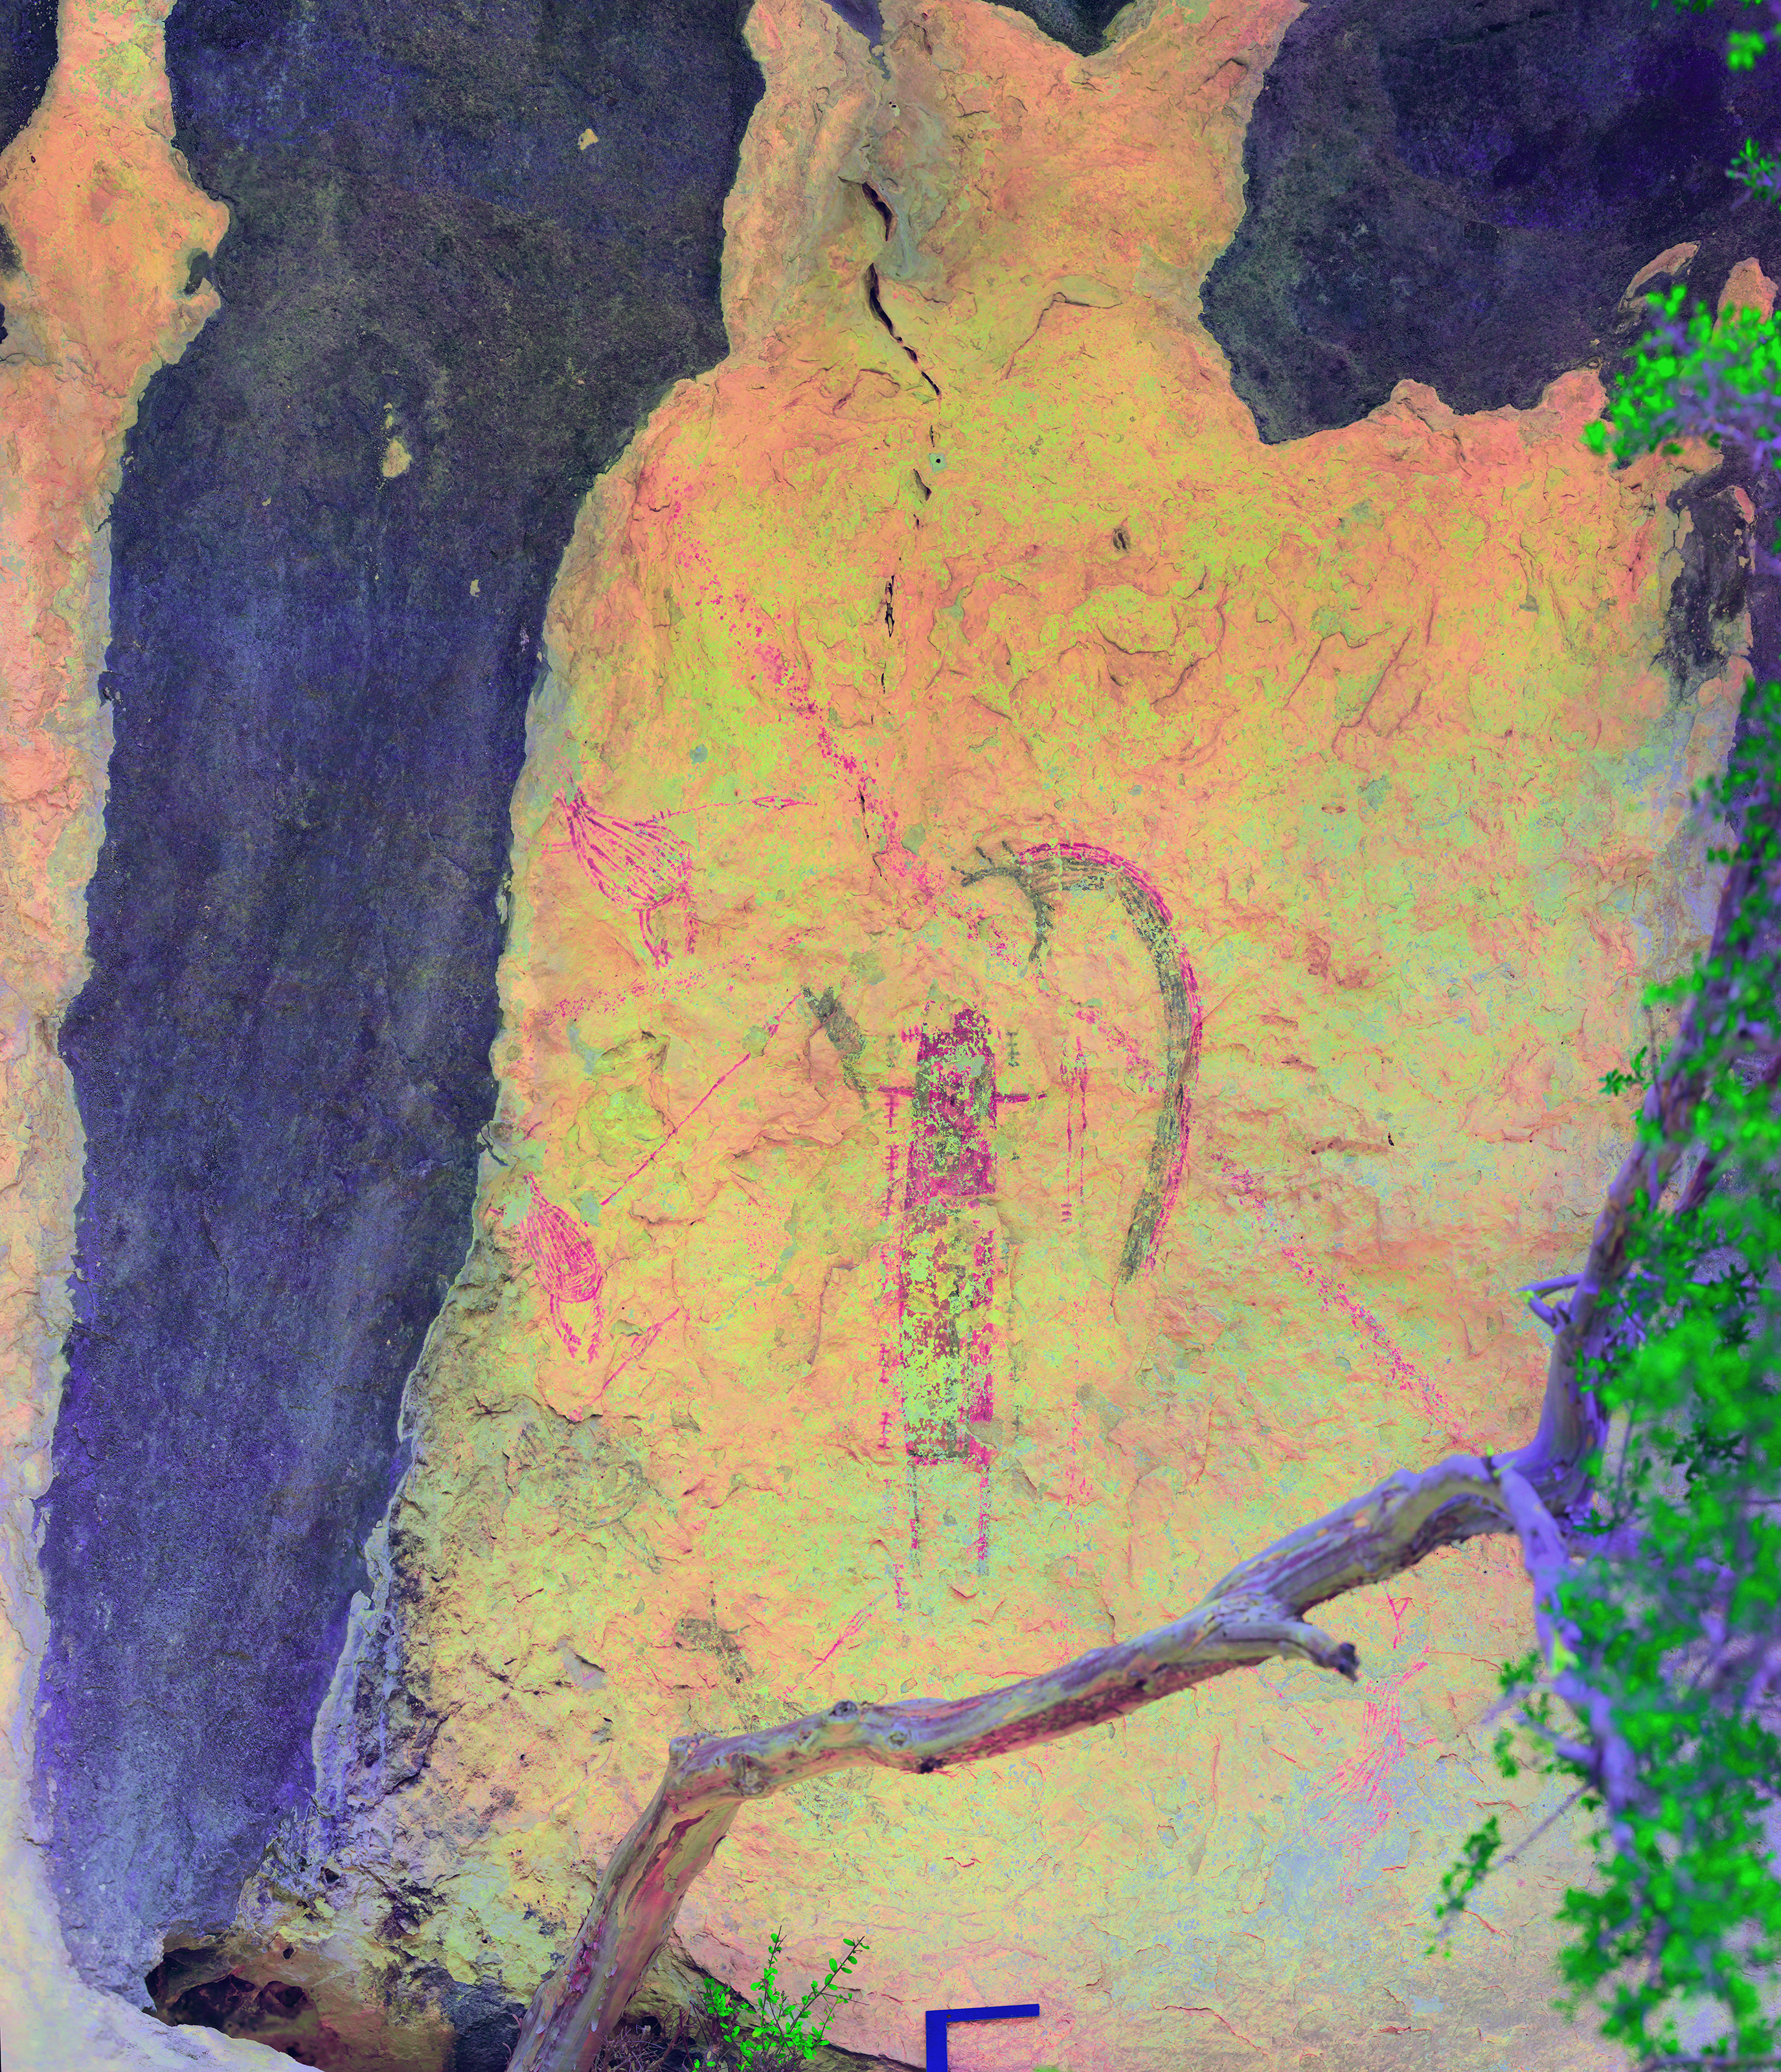
Once the SfM and GigaPan imagery is generated, the first step in the data analysis process is to run the images through different color enhancement channels using DStretch. DStretch is an incredible tool for rock art research, and allows us to see the entire panel not just small portions. Once we have enhanced the images in DStretch, the next step of the analysis process is doing Figure Identification. Figure ID is where we separate and describe each anthropomorphic (human-like), zoomorphic (animal-like), and enigmatic (neither human nor animal) rock art image in each pictograph panel. We have not completed Figure ID for Black Cave Annex, but this is the first step towards our Level 2 site documentation process and detailed iconographic analysis (which will be introduced in our next blog post).
Digital Preservation
So, at this point you might be asking what we mean by digital preservation. At the most basic level, digital preservation is documenting or recording a physical object in its current condition using digital techniques. An example that people do nearly every day is take cell phone photos of landscapes, food, experiences, and people. That photograph is then often uploaded to the cloud, thereby digitally preserving that moment or experience.
For decades one of the only way archaeologists could digitally preserve artifacts, sites, and features was through photographs. However, over the past couple decades archaeologist have begun using more advanced digital documentation methods to truly preserve the sites, artifacts, and features we study. For instance, our colleague Dr. Robert Selden at Stephen F. Austin State University uses laser scanners to create digital, 3D replicas of ceramic and lithic artifacts (see SFASU Blog). Further a complete replica of the famous Paleolithic cave site of Lascaux has been created for visitors to enjoy because access to the site is heavily restricted. You can take a virtual tour of Lascaux online (see Lascaux Video), or visit the replica in person to experience the site (see International Centre for Cave Art).
With the Alexandria Project we are doing the same types of digital preservation. By using SfM and GigaPans, we are not only creating high-resolution digital images, but also high-resolution 3D models of the rock art itself. In other words, if one of the rock art panels we document with Alexandria were to be destroyed tomorrow, we would be able to recreate that panel using the SfM and GigaPan data. Further, by digitizing these rock art panels we are able to share the incredible assemblage of Lower Pecos rock art with the world (see our Sketchfab and GigaPan profiles).
By using SfM and GigaPan methods at each site we are able to not only digitally preserve the rock art imagery for future generations, but also provide an unparalleled visual and spatial inventory of Lower Pecos rock art to inform current and future research. We have an obligation as scientists and stewards to both study the archaeology and preserve it for future generations—SfM and GigaPan provides us with a means to begin creating a digital archaeological record to be accessed and studied for generations to come.
**See Jerod’s poster from the 2017 Texas Archeological Society Annual meeting here: Roberts2017TASposterFINAL.**



Fabulous, what a weblog it is! This webpage presents helpful data to us,
keep it up.
This is the best thing I’ve seen today. Great job !